This baby bottom cake came together easier than I thought it would. A baby bottom, two chubby feet, and a baby blue blanket. This cake was a piece of cake to make. LOL

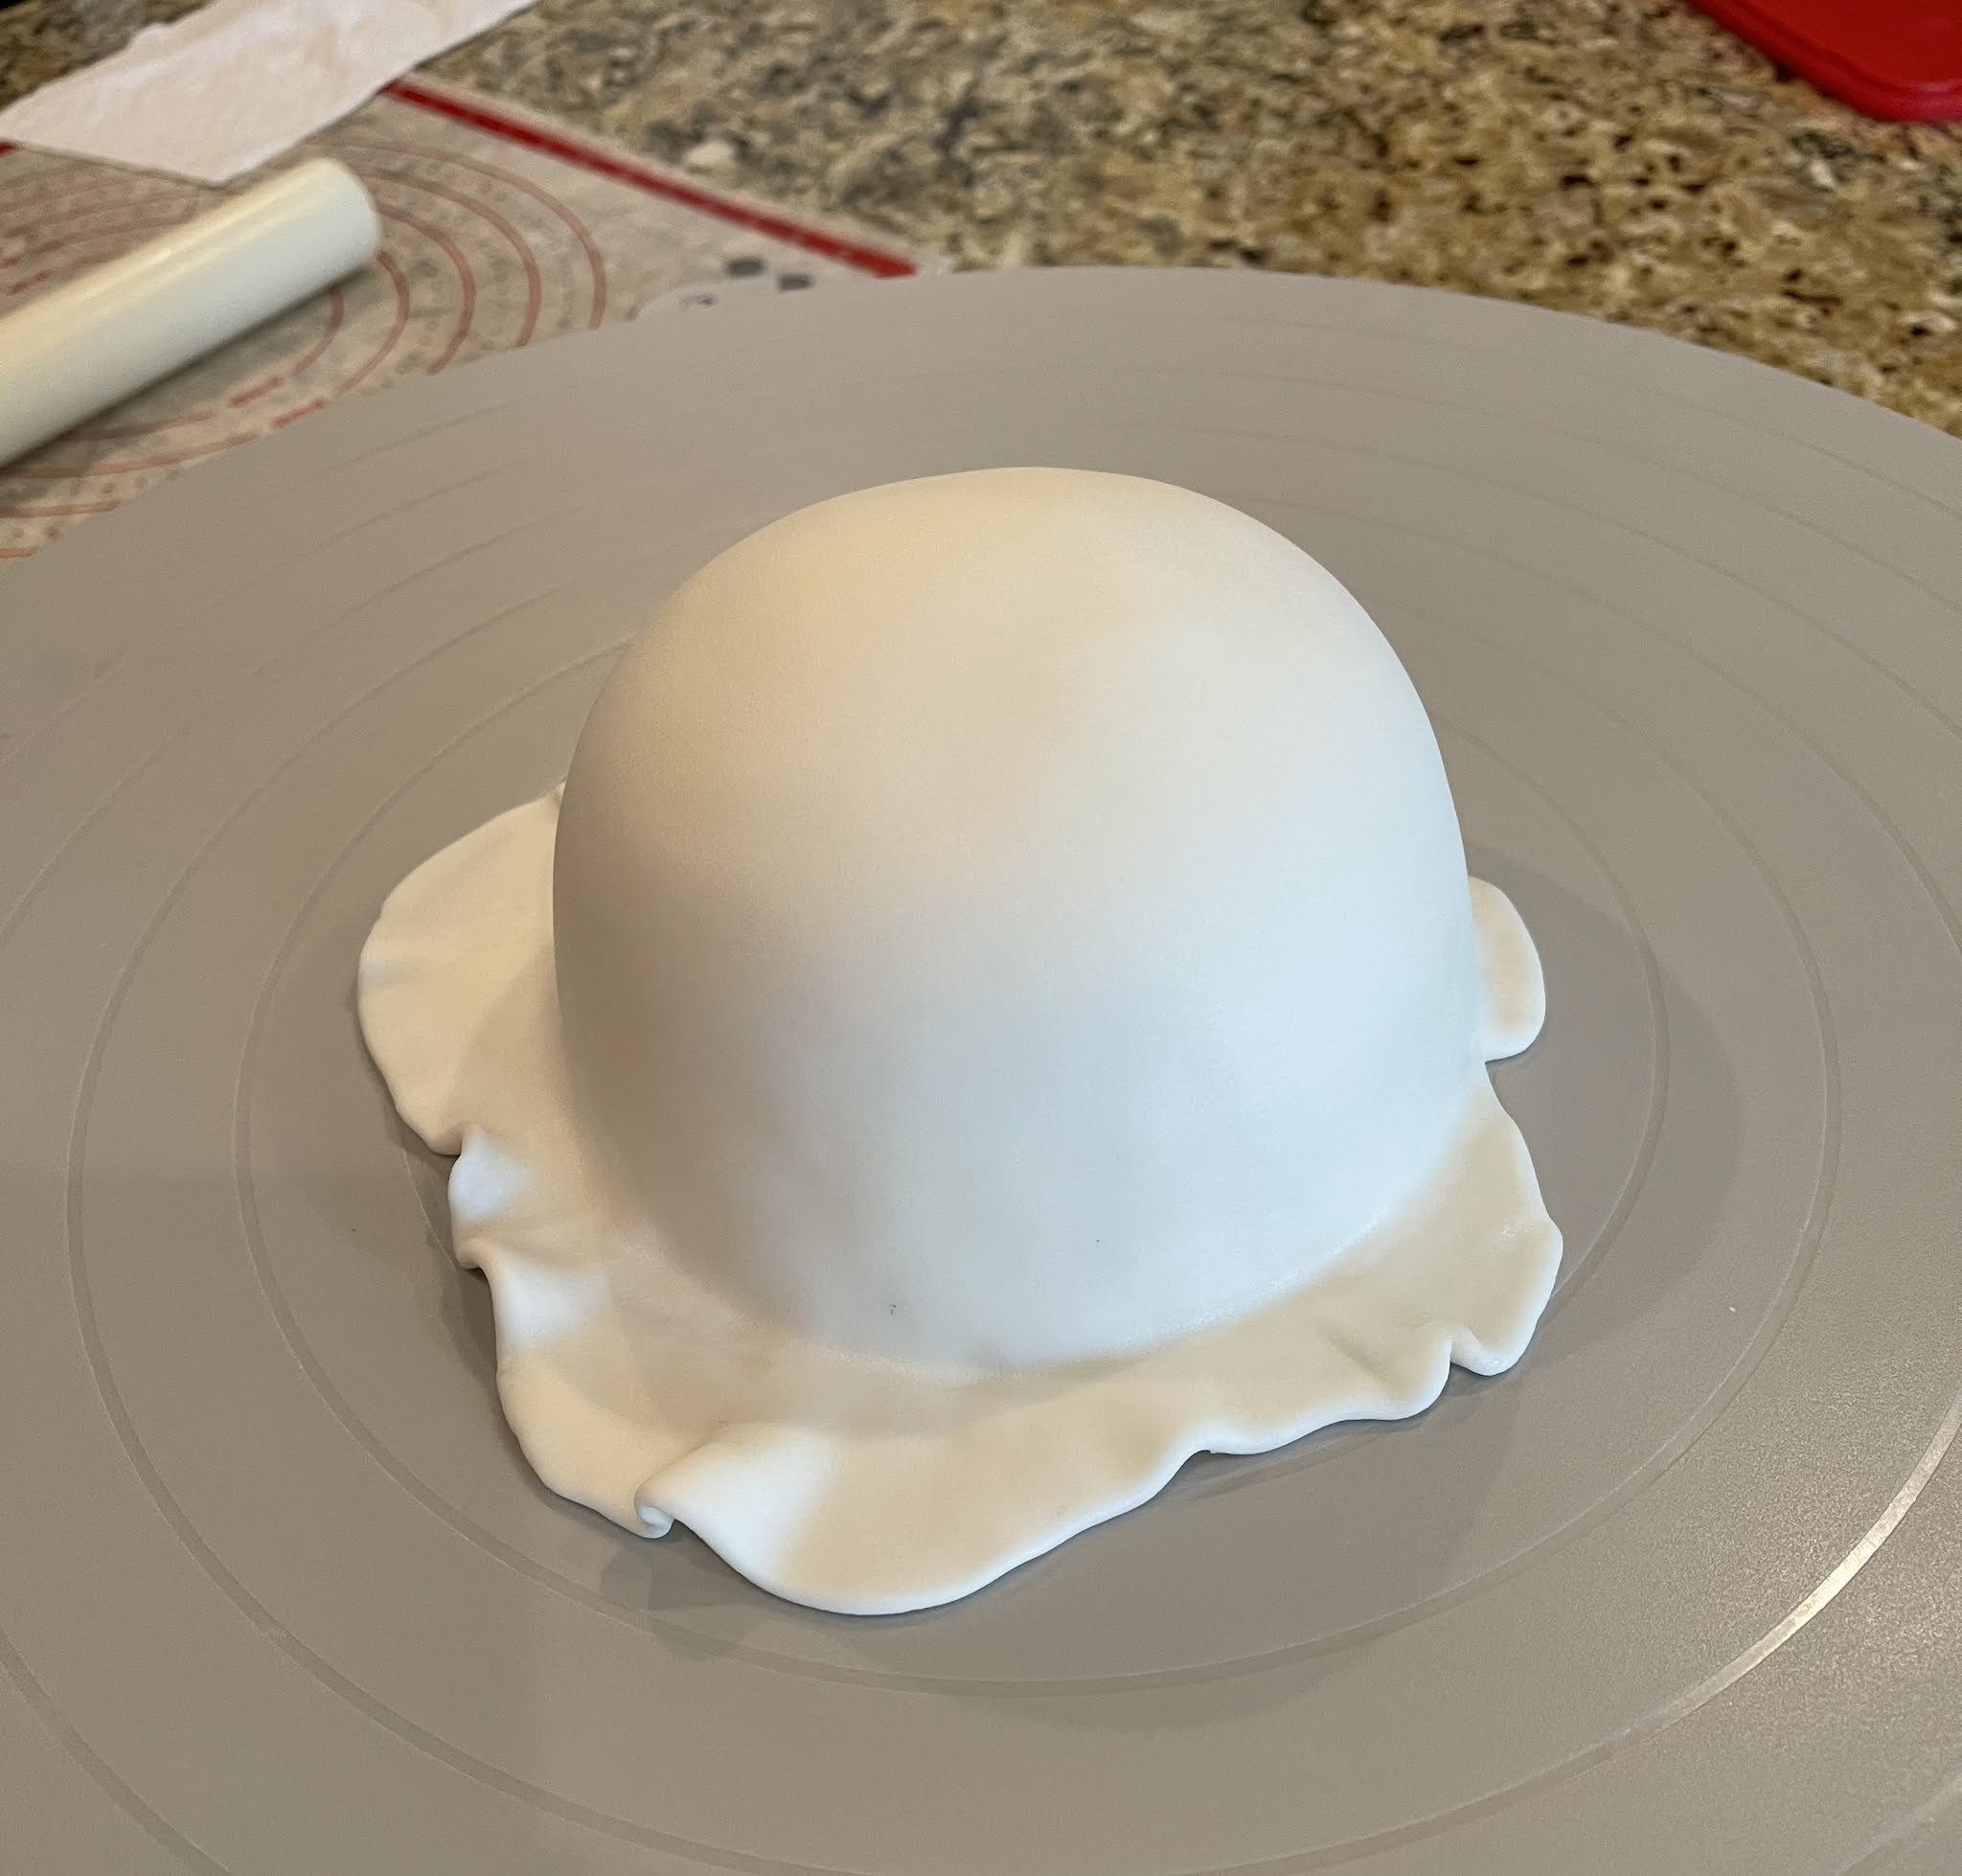
<< Disclosure: We are a participant in the Amazon Services LLC Associates Program, an affiliate advertising program designed to provide a means for us to ear fees by linking to Amazon.com and affiliated sites.>>I started with a half sphere cake and a three layer 9" cake. For the half sphere I used the Wilton 3D 6" Sports Ball Pan. I only used one of the two pans. After the cake was baked and cooled, I cut the cake in half horizontally, added some filling between the two layers, crumb coated the outside of the sphere, and covered it with white fondant. I used Renshaw fondant for this because it taste so much better than Wilton, and I figured people might actually eat the fondant. The Renshaw also doesn't get cracked and wrinkly like Wilton or Satin Ice. Below you can see that my finished baby bottom isn't very smooth, but I didn't worry about its appearance because the blanket and feet would cover most of it.
Once covered, I placed the half sphere on the buttercream covered 9" round cake.
Next I made the baby's feet using a cookie cutter. I suck at sculpting, so using a cutter is the path I usually take. Below is the sketch I used to make the cookie cutter.
I uploaded the sketch to CookieCad.com, downloaded a STL file and used my Creality Ender 3 v2 3D printer to actually print the cutter. If you want to read an intro into 3D printers for cookie cutters you can read my post HERE. So with the cutter ready I started on the feet. In the upper left of the photo below you can see a foot that is finished. In the lower right I am making the other foot. Rather then pushing the cutter into the fondant (which gives a sharp edge and ragged sides to the cut fondant), I placed a piece of plastic wrap into the cutter and then push the fondant into the cutter. This gives the outer edges of the foot and toes a soft, rounded look. Here I turned over the cutter to make sure I pushed the fondant into all the toes.Next I just use the plastic wrap to pull the foot out of the cutter. The foot on the left is just out of the cutter you can see it needs to be cleaned up a little. I just pushed the extra bits of fondant where they belong.
And then I add creases into the foot to make it more realistic. Aren't they too cute??
The little stubby legs came next. I tapered the ends where they would go under the feet and against the body. Don't worry about their shape too much. Most of the legs will be hidden by the big feet and the blanket.

The legs and feet go onto the cake and snuggle up against the baby bottom. The feet looked really wrinkly once I put them on the cake. I hate how quickly Wilton fondant dries out! But at least in this case the wrinkles and creases actually make it foot more life-like.
Next I put a fondant bow around the base of the cake. It looks a little messy, but hey, the cake is just for family. LOL.
Add some circles of fondant in 3 shades of blue, and add the lettering for "It's a boy" using FMM Tappit cutters.And for the final touch the blanket covering the baby's bottom. I used an impression mat to put a pattern on the fondant, cut it into a rough circle, and crimped the edge to give it a more finished look.
Then I just draped the blanket on the baby's bottom, and called it DONE!
See how easy that was!


Love!
ReplyDelete