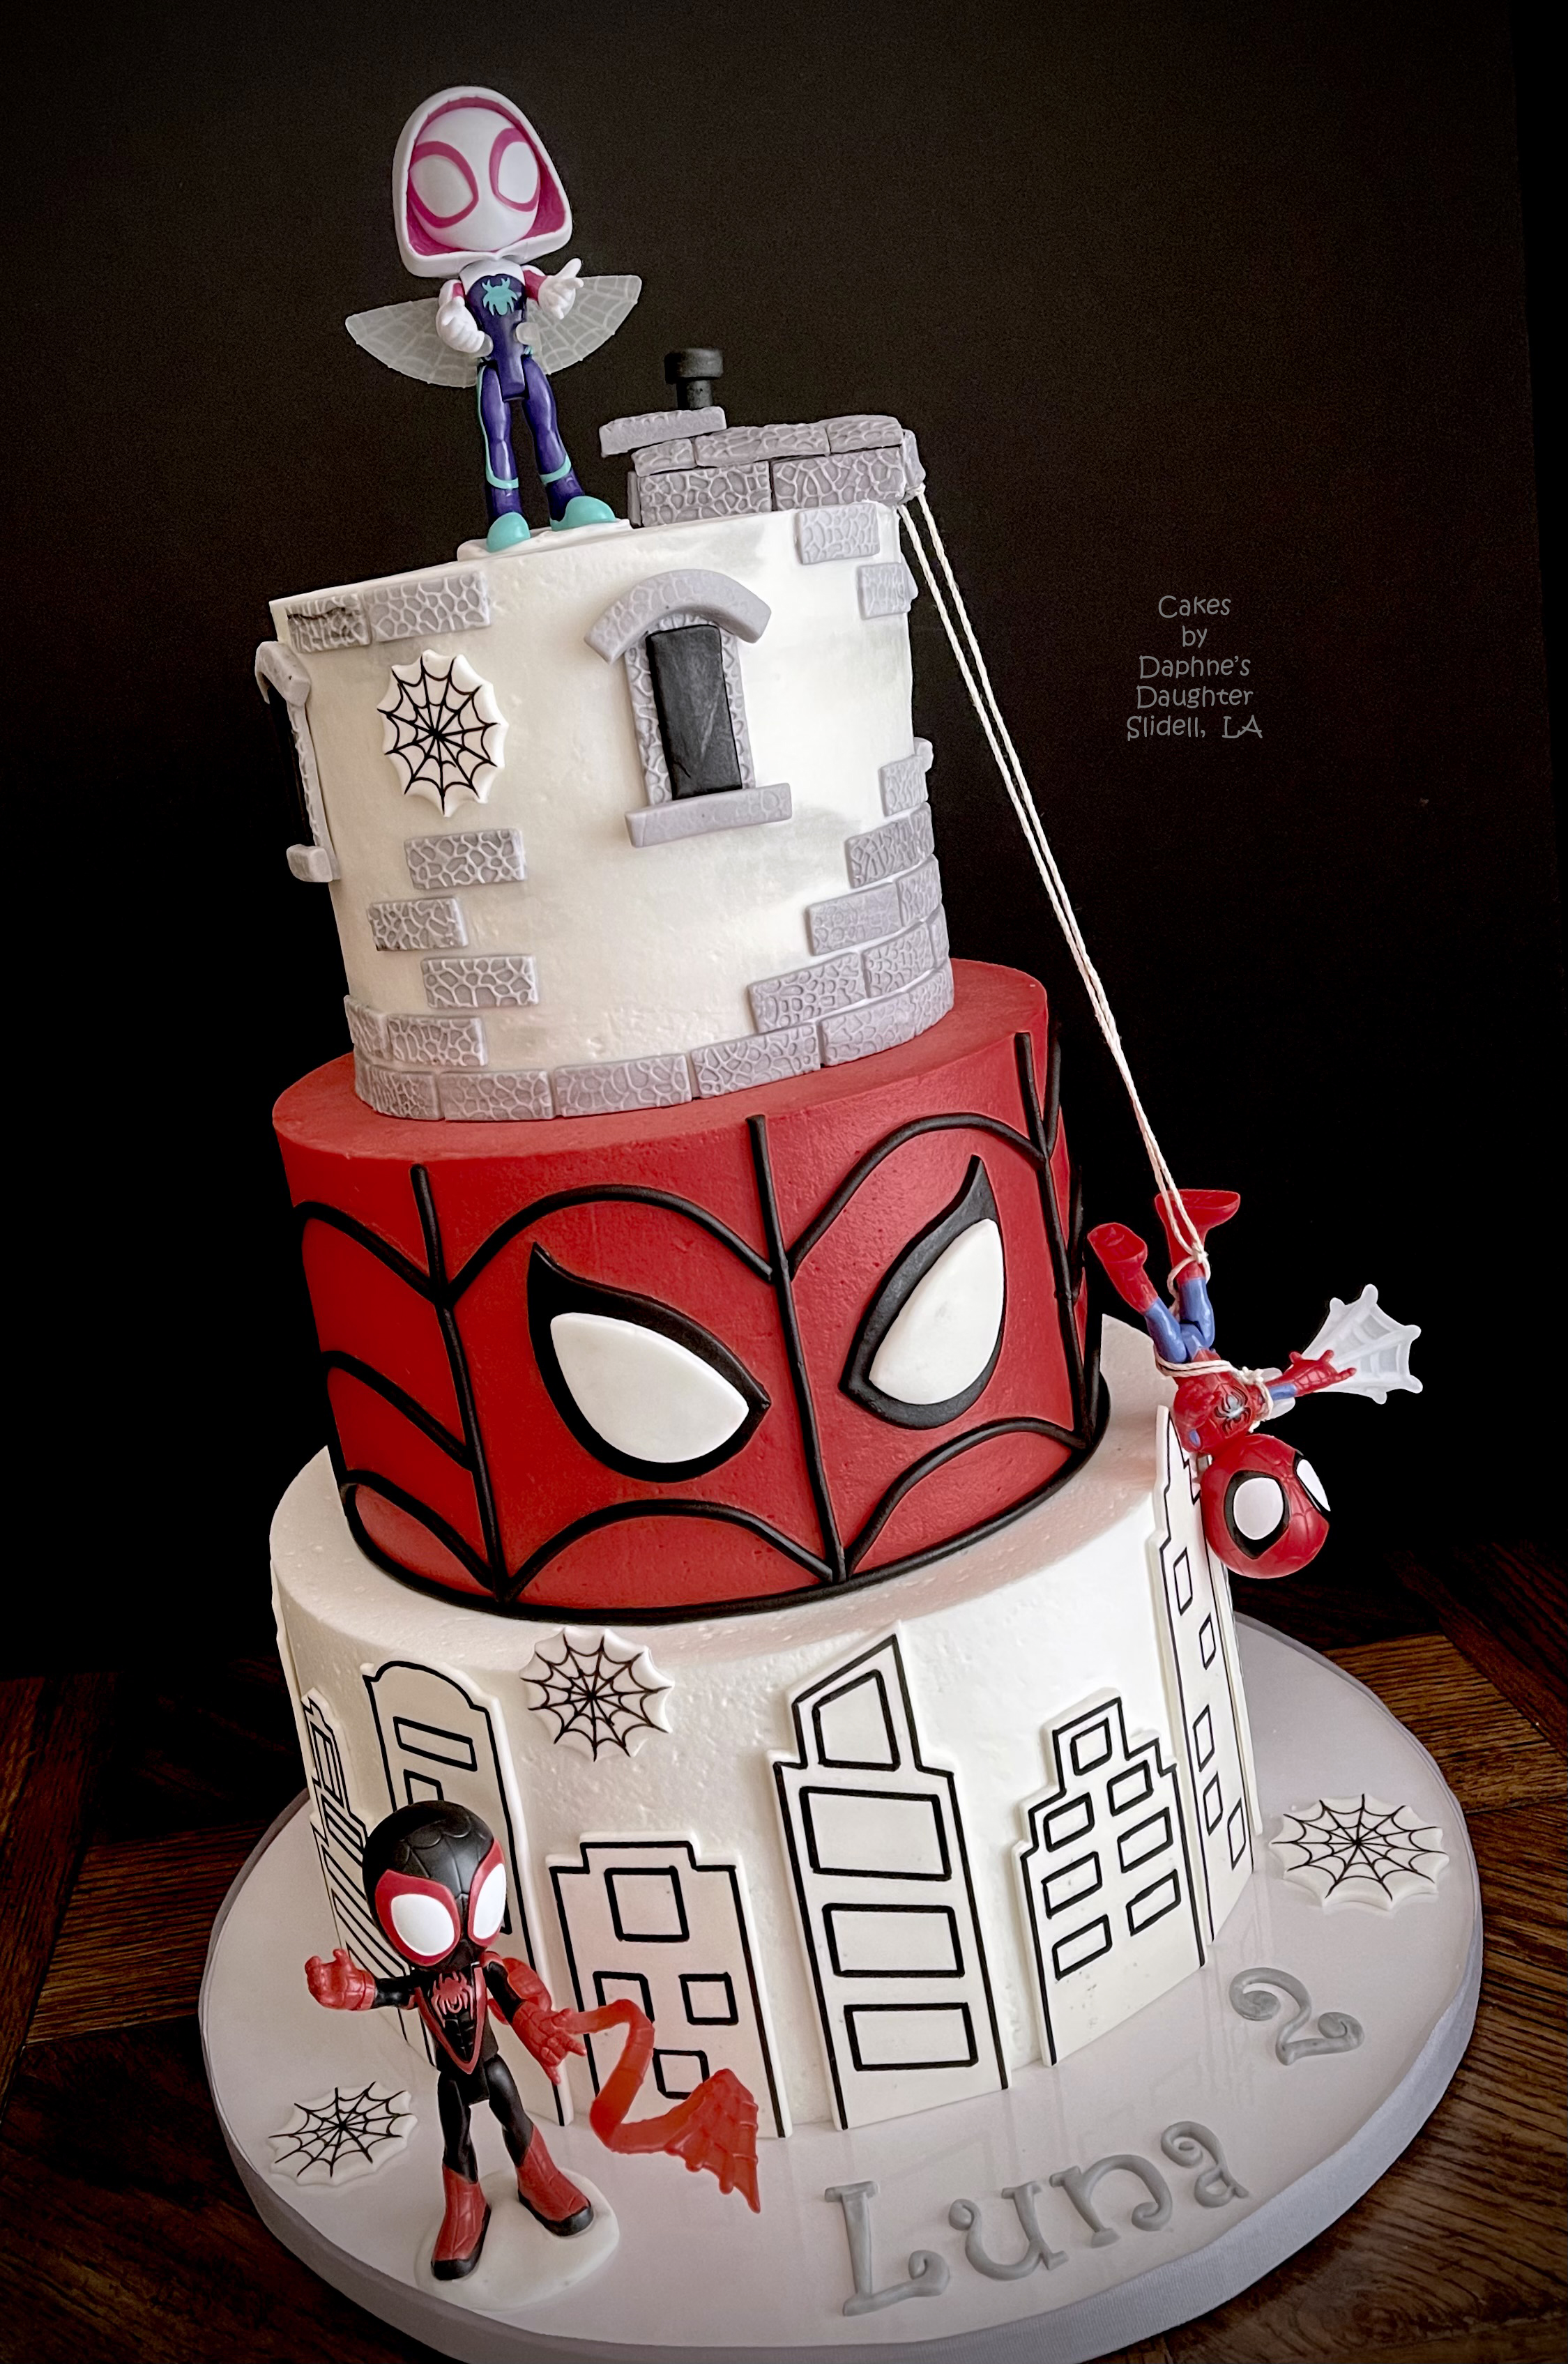
I like it when a cake look complicated but is actually easy to make. Take this cake inspired by the Spidey and His Amazing Friends cartoon. It is a three tiered 10", 8" and 6" cake which would serve about 74.

<< Disclosure: We are a participant in the Amazon Services LLC Associates Program, an affiliate advertising program designed to provide a means for us to earn fees by linking to Amazon.com and affiliated sites.>>

For the spider web I used the image below and just created the cutter from the outer edge. The web lines were drawn using a finer tipped side of the black edible marker.

For the center tier, I tinted the buttercream using Wilton's No-Taste Red food gel, and used the pattern below for the eyes. The outer area was cut with Wilton's black fondant, and the center section with white fondant. For the black ropes that make up the "web" on the center tier, I use an A.C.E. food safe extruder to get the ropes nice and even. I'm not sure if the food-safe version is still sold (it had different nut/bolts than the clay extruder), but you can get the polymer clay version here. You can also use just a regular (cheap-o) clay extruder, but they tend to break after just a few uses. Amazon also sell the sturdier gun style clay extruder, but I'm not sure how well they work. I've been using my ACE extruder for years without any problems, so I know that one work.

For the top tier I tinted white frosting a soft stone-gray color, and then made fondant shaped bricks out of a slightly darker gray. I put the structure on top of the tier to help hold Spiderman as he swings on his web. The web is just embroidery floss.
The cake sit atop a 14" cake drum, and the lettering is FMM Funky Alphabet in Upper and Lower case.
So all-in-all this was a pretty easy cake to construct.