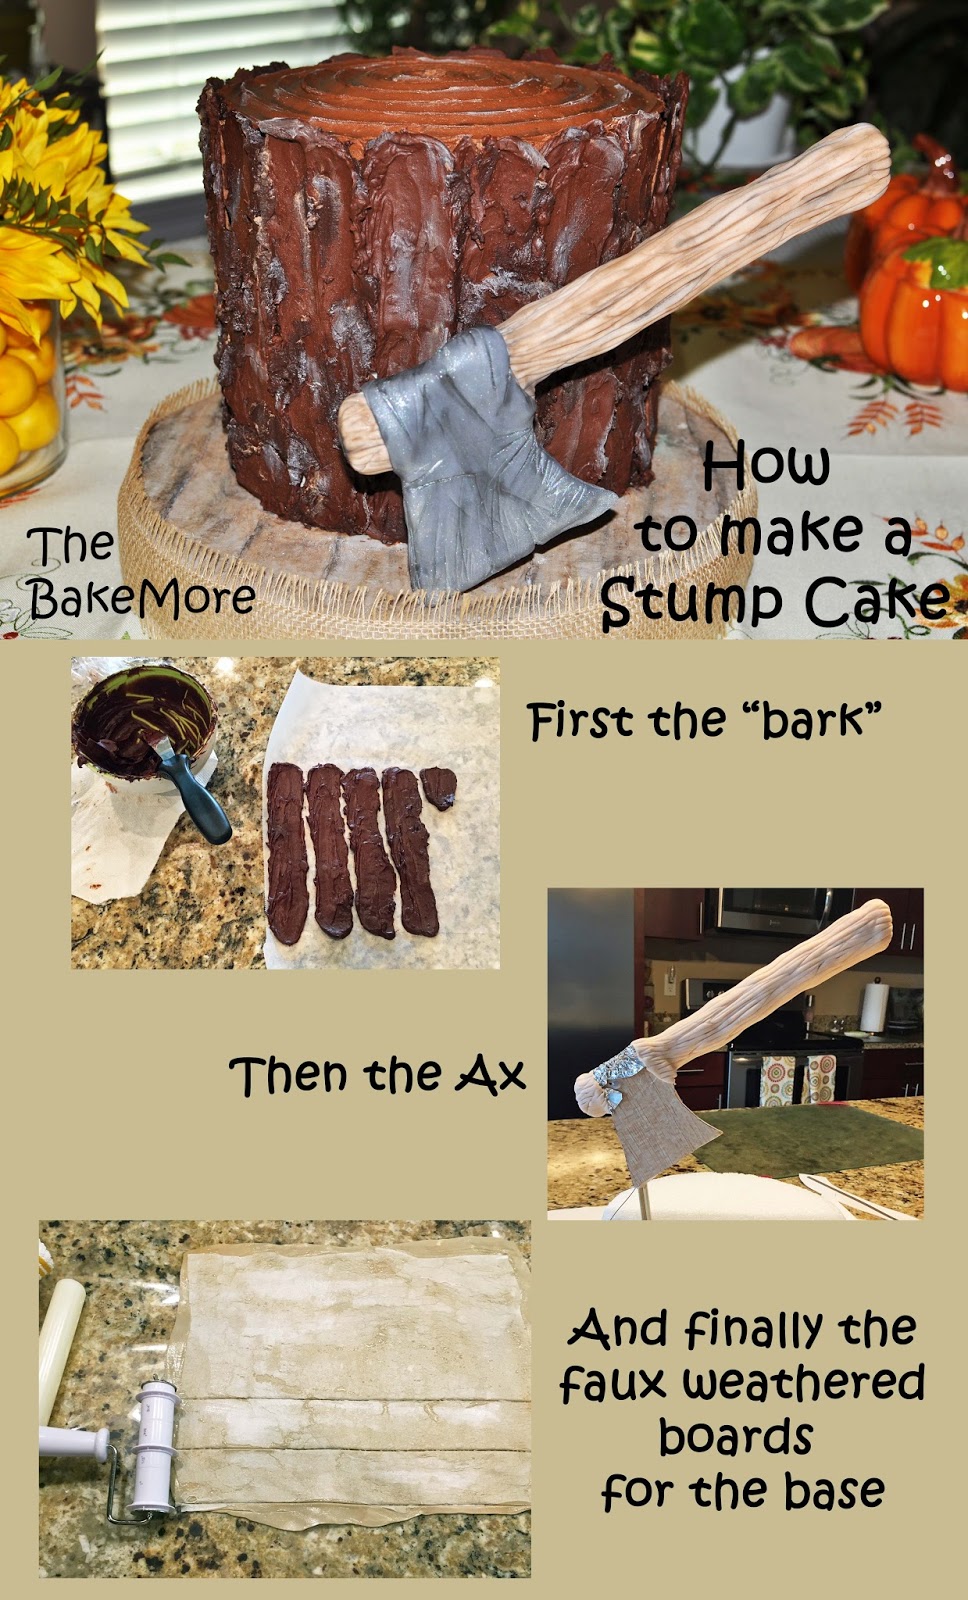
A question that all cake decorators asks is, "What is the Best fondant?"
To answer this you must first define "Best". Do you want a fondant that tastes great? One that produces a superior looking finish? Do you want one that is easy to use? Cuts like a dream? Stands up to heat and humidity? All of the above?
Ideally you want a fondant to check off all the boxes, but sadly after all my testing of various fondants (15 so far) I have found that no single fondant does it all.
<< Disclosure: We are a participant in the Amazon Services LLC Associates Program, an affiliate advertising program designed to provide a means for us to ear fees by linking to Amazon.com and affiliated sites.>>
The latest fondant to show up on my radar is Mona Lisa from Barry Callebaut. This fondant was released in 2016, and I finally found a retail vendor a few weeks ago. Yea!! I couldn't wait to give it a try!!
Packaging - The Mona Lisa only comes in a big, honking, 20 pound tub, so it isn't for the faint of heart. The price tag is ~$100 plus shipping, but on a per pound cost it is on par with other high quality fondants. Inside the tub are two 10 pound vacuum sealed coverings. I don't call them "bags" because the plastic is not resealable. Once the cover is torn open, the most you can do is fold the loose end over and secure with tape or a rubber band. Or you can put the unused portion in zip-lock - I put everything in zip-lock bags. But the non-sealing bags really aren't a problem because this fondant is very, very, very slow to dry out. I'm talking MONTHS to dry out.

Taste - Given that this fondant is from Barry Callebaut I was expecting more of a chocolate taste, but not so. The fondant has a pleasant sugary flavor with a slight hint of vanilla. Nothing about the flavor is strong or distinctive. It is a nice, munchable fondant, that (some) party-goers actually enjoy. I have had people eat the cake and not even realize there was fondant on it!!
The mouth-feel of the Mona Lisa is soft and delicate. It melts in the mouth without chewing or effort, and it doesn't leave any chemical aftertaste. This fondant gets high marks in the "Taste" category.
Texture – Straight out of the vacuum sealed wrapper, this fondant is as hard as a rock. I actually had to use a knife to hack off pieces from the mother block. The fondant was dry to the touch, and almost has a crumbly texture.

But once exposed to the gentle heat of your hands it quickly softens and becomes very pliable. After working it a few seconds the fondant gets slightly tacky, but it quickly loses the stickiness when it leaves your hands. (I have very hot hands.)


The Mona Lisa isn't as soft as the Renshaw, Fat Daddio's, Dream, or Fantasia fondant I reviewed a few months ago. The other brands will pick up the texture from a paper towel with no effort. The Mona Lisa will pick up the impression too, but you just need to press a little harder.
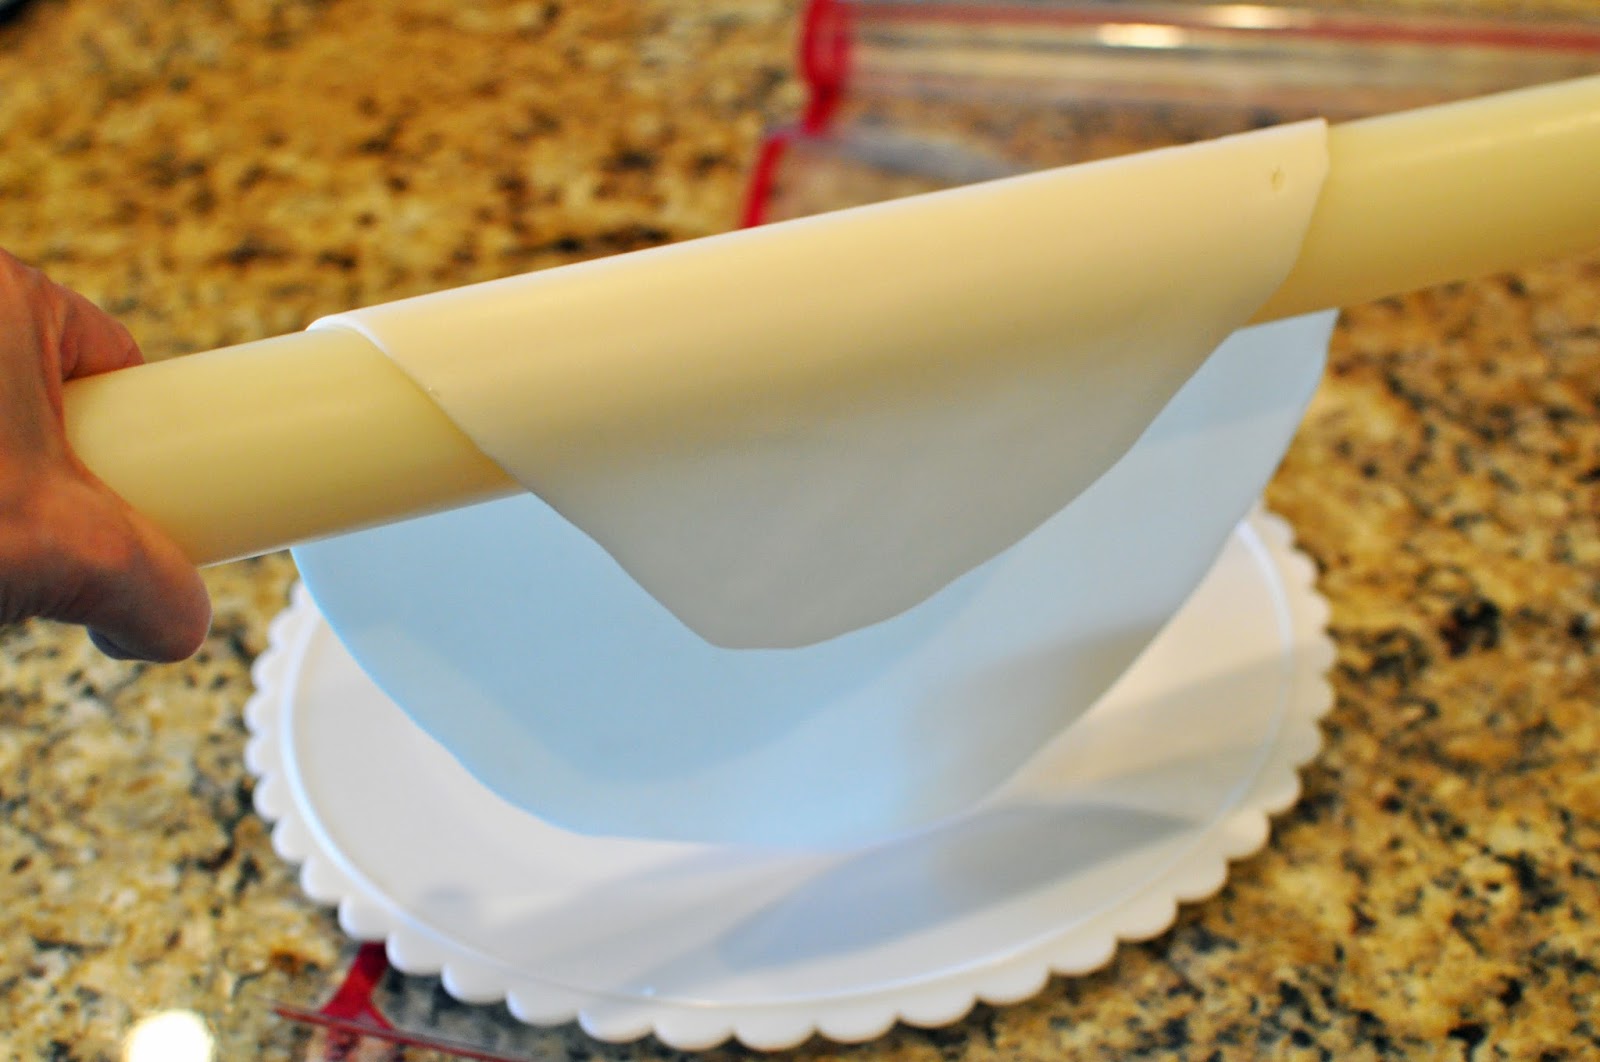
Rolling – I find the Mona Lisa fondant a little more difficult to roll than other brands. It takes some elbow grease to get this stuff to flatten to 1/8". I really wish I had one of the mechanical fondant rollers << Christmas wish list item >>. Bubbles are somewhat of an issue with this fondant, but not as bad as the Carma Massa, and if you are careful not to trap air into the fondant as you knead it, the bubbles are almost non existent.
This fondant is the pliable type, so the edges stayed smooth - no splits, cracks, or ragged edges with this fondant. Everything stays smooth and even.

The fondant released easily from the non-stick rolling mat. No problems what-so-ever with sticking.
Coverage – In all the fondant tests I've conducted, I use 5 ounces of fondant and roll to 1/8” thick. For the Mona Lisa I was able to roll the 5 oz to a to 10 inches round. That is about average compared to the other fondants I've tested. Not the best, but not the worst. Like I said earlier, this fondant is a little tough to roll out, so it doesn't have the spreading ability of other fondants, and at 1/8" the fondant was still opaque. Some fondant can look almost translucent when you roll it out to 1/8".
But after covering a few cakes with the Mona Lisa I've decided that 1/8" is just too thin. At 1/8" the finished cakes look a little lumpy, especially when the underlying cover of buttercream or ganache starts to soften a bit. At 1/4" the finished fondant covered cake looks much smoother and uniform. But you also can't roll the Mona Lisa fondant too thick because it has a tendency to stretch under its own weight.
Draping/Smoothing - The Mona Lisa performs well in the draping category. It is a little stiffer than other fondants, so it doesn't form a lot of drapes and folds when it is placed over the cake (or the cake dummy in this case), and because the fondant is dry to the touch, the folds don't stick together.

The Mona Lisa is also a breeze to smooth. It was easy to fluff out and fit to the cake, and it stays dry to the touch even on hot and humid days. I could use fondant smoothing tools without having them stick to the cake.

Cutting/Trimming – The fondant cuts very, very clean. This is one of the best fondants in this category.

Drying Time – One of the best (and most problematic) things about this fondant is its slow drying time. Even though it is dry to the touch, it doesn't dry out. If you are not pleased with the look of your rolled out fondant, you can knead it a little and re-roll over and over again. And if you have fondant left over from one cake you can just wrap it up and save it till you need that color again. I've saved all of my excess tinted Mona Lisa fondant, and they were all soft and usable even months later. Note: For the most part I don't use the old fondant on cakes, instead I save it for cake boards and decorations.
Tinting – No major problems with tinting. The Mona Lisa took most of the AmeriColor and Wilton food color gels without any problems. Blues and greens looks good.

As well as red, rose, peach, yellow and orange.

There was some trouble with the AmeriColor Burgundy, but the Wilton Burgundy looked fine, and while the AmeriColor Electric Purple looked good, the Wilton Violet looked a little blueish.

Another plus is that the gel colors also didn't overly effect the texture of the fondant. There was no noticeable stickiness after adding the gel.
Final Look – Sadly, the overall finished look of the Mona Lisa fondant was just okay. At 1/8" thick it looked a little lumpy and dented. In all of my fondant tests I cover a mini angel food pan that is not coated with anything. I just place fondant against smooth metal, so all of the imperfections seen are strictly from me handling the fondant.

At the beginning of my fondant comparison odyssey I decided that this "fondant on metal" method of testing would give a controlled comparison. If I had covered a real cake coated in buttercream and/or ganache, I wouldn't know if the "problems" noticed were from the fondant or if the "problems" in the fondant were being caused by imperfections in the buttercream below the fondant.
So after covering the metal pan with the 1/8" rolled Mona Lisa fondant I was disappointed in the results. The Mona Lisa finish just didn't look as good as other fondants I've tested. With the Mona Lisa you need watch how you touch the fondant because it easily dents with the press of your fingers. The Mona Lisa shows depressions, dips and imperfections in your cake much more than other fondants. Some fondants have a stretchy, elastic-like texture that lets it float above cake imperfections and makes the flaws less visible. Sadly the Mona Lisa isn't like that. The Mona Lisa tends to sink into imperfections which makes the flaws more obvious. The Mona Lisa isn't going to hide any problems with the underlying cake, so when using this fondant you need to make sure you get a smooth, perfect surface on which to place the fondant.
I also tested the Mona Lisa at 1/4" thickness and this did give a much smoother finished. BUT because the fondant is heavy and never really hardens, you have to watch for slumping. If the cake is tall, the weight of the 1/4"+ thick fondant on the sides will cause the fondant to stretch and pull out of shape. You will end up with a slight puddling of fondant at the base of the cake. The stretching will also distort any decorations on the cake.
For example, below is a cake that I covered and decorated with Mona Lisa. The "waves" are made from curled tubes of fondant. Notice how the curls are very round looking when I first placed them on the cake.

But notice those same wave curls the next day when I removed it from the refrigerator. See how the curls are no longer perfectly round? Overnight both the fondant on the side of the cake and the decorations slumped and compressed which caused the curls to flattened into a more oval shape.

No one but me noticed the flattening, but next time I will use a sturdier fondant (one that dries out faster) when making thick-ish decorations.
Humidity/Refrigeration/Moisture Test – Humidity and Heat is a big problem in my neck of the woods so I have also started testing how the fondant react to refrigeration and humidity. The moisture test is actually to test how the fondant reacts to the underlying frosting be it buttercream or ganache.
Below is a test cake where half the cake is covered in ganache and half is covered in a crusting buttercream (100% shortening). The cake was allow to sit for 3 hours before I started slicing.
And how did the Mona Lisa do?
Well it cut like a DREAM!! I was amazed. Even after exposure to soft buttercream, the fondant cut cleanly. The fondant stayed dry to the touch and didn't absorb any moisture from the buttercream underneath.

As for the Refrigerator test - Again the Mona Lisa performed like a dream. Some fondants start to glisten and get dewy after an overnight stay in the refrigerator while other fondants get downright wet, but the Mona Lisa reacts very little to the cool air and moisture in the refrigerator. The surface of the fondant got a little tacky, but there was no sweating or streaking of colors. And once the cake reached room temperate the fondant was completely dry to the touch. The Mona Lisa also sliced without any pulling or gumminess to the fondant. This fondant cuts like a dream.
Summary
So what is the finally verdict? Well there are some things about the Mona Lisa fondant that I love, and somethings I don't like as much.
On the plus side the Mona Lisa gets high marks in the taste category. It is easy enough to roll out and doesn't form many air pocket. It is pliable, but not sticky, so it is easy to cover and smooth the fondant over the cake. Mona Lisa can be tinted almost any color, and leftover fondant will stay soft and fresh for months if you wrap it in plastic wrap. The Mona Lisa performs like a champ under high humidity conditions, and can be refrigerated without getting gummy. And best of all this fondant slices cleanly and easily even when it covers high-moisture frostings.
On the minus side the Mona Lisa fondant shows flaws and imperfection more than other fondants I've tried. If the Mona Lisa would float above dimples and depressions in the cake instead of sinking into them this would be the perfect fondant.
The Mona Lisa fondant is also not the best fondant for making decorations on your cake (unless the decorations are very thin). Because the fondant takes so long to dry, the sides of the cake and thicker decorations tend to droop and slump over time.
In the end I considered all the pros and cons and I decided that I would continue using Mona Lisa as my goto fondant. For me the humidity resistant aspect of the Mona Lisa was more important than using a fondant that would give a flawless finish.
So this concludes the Mona Lisa fondant review. If you have issues with humidity in your neck of the woods give this fondant a try.
Happy Decorating,
Carol