Here are some simple to make Berry 1st Birthday themed cakes.
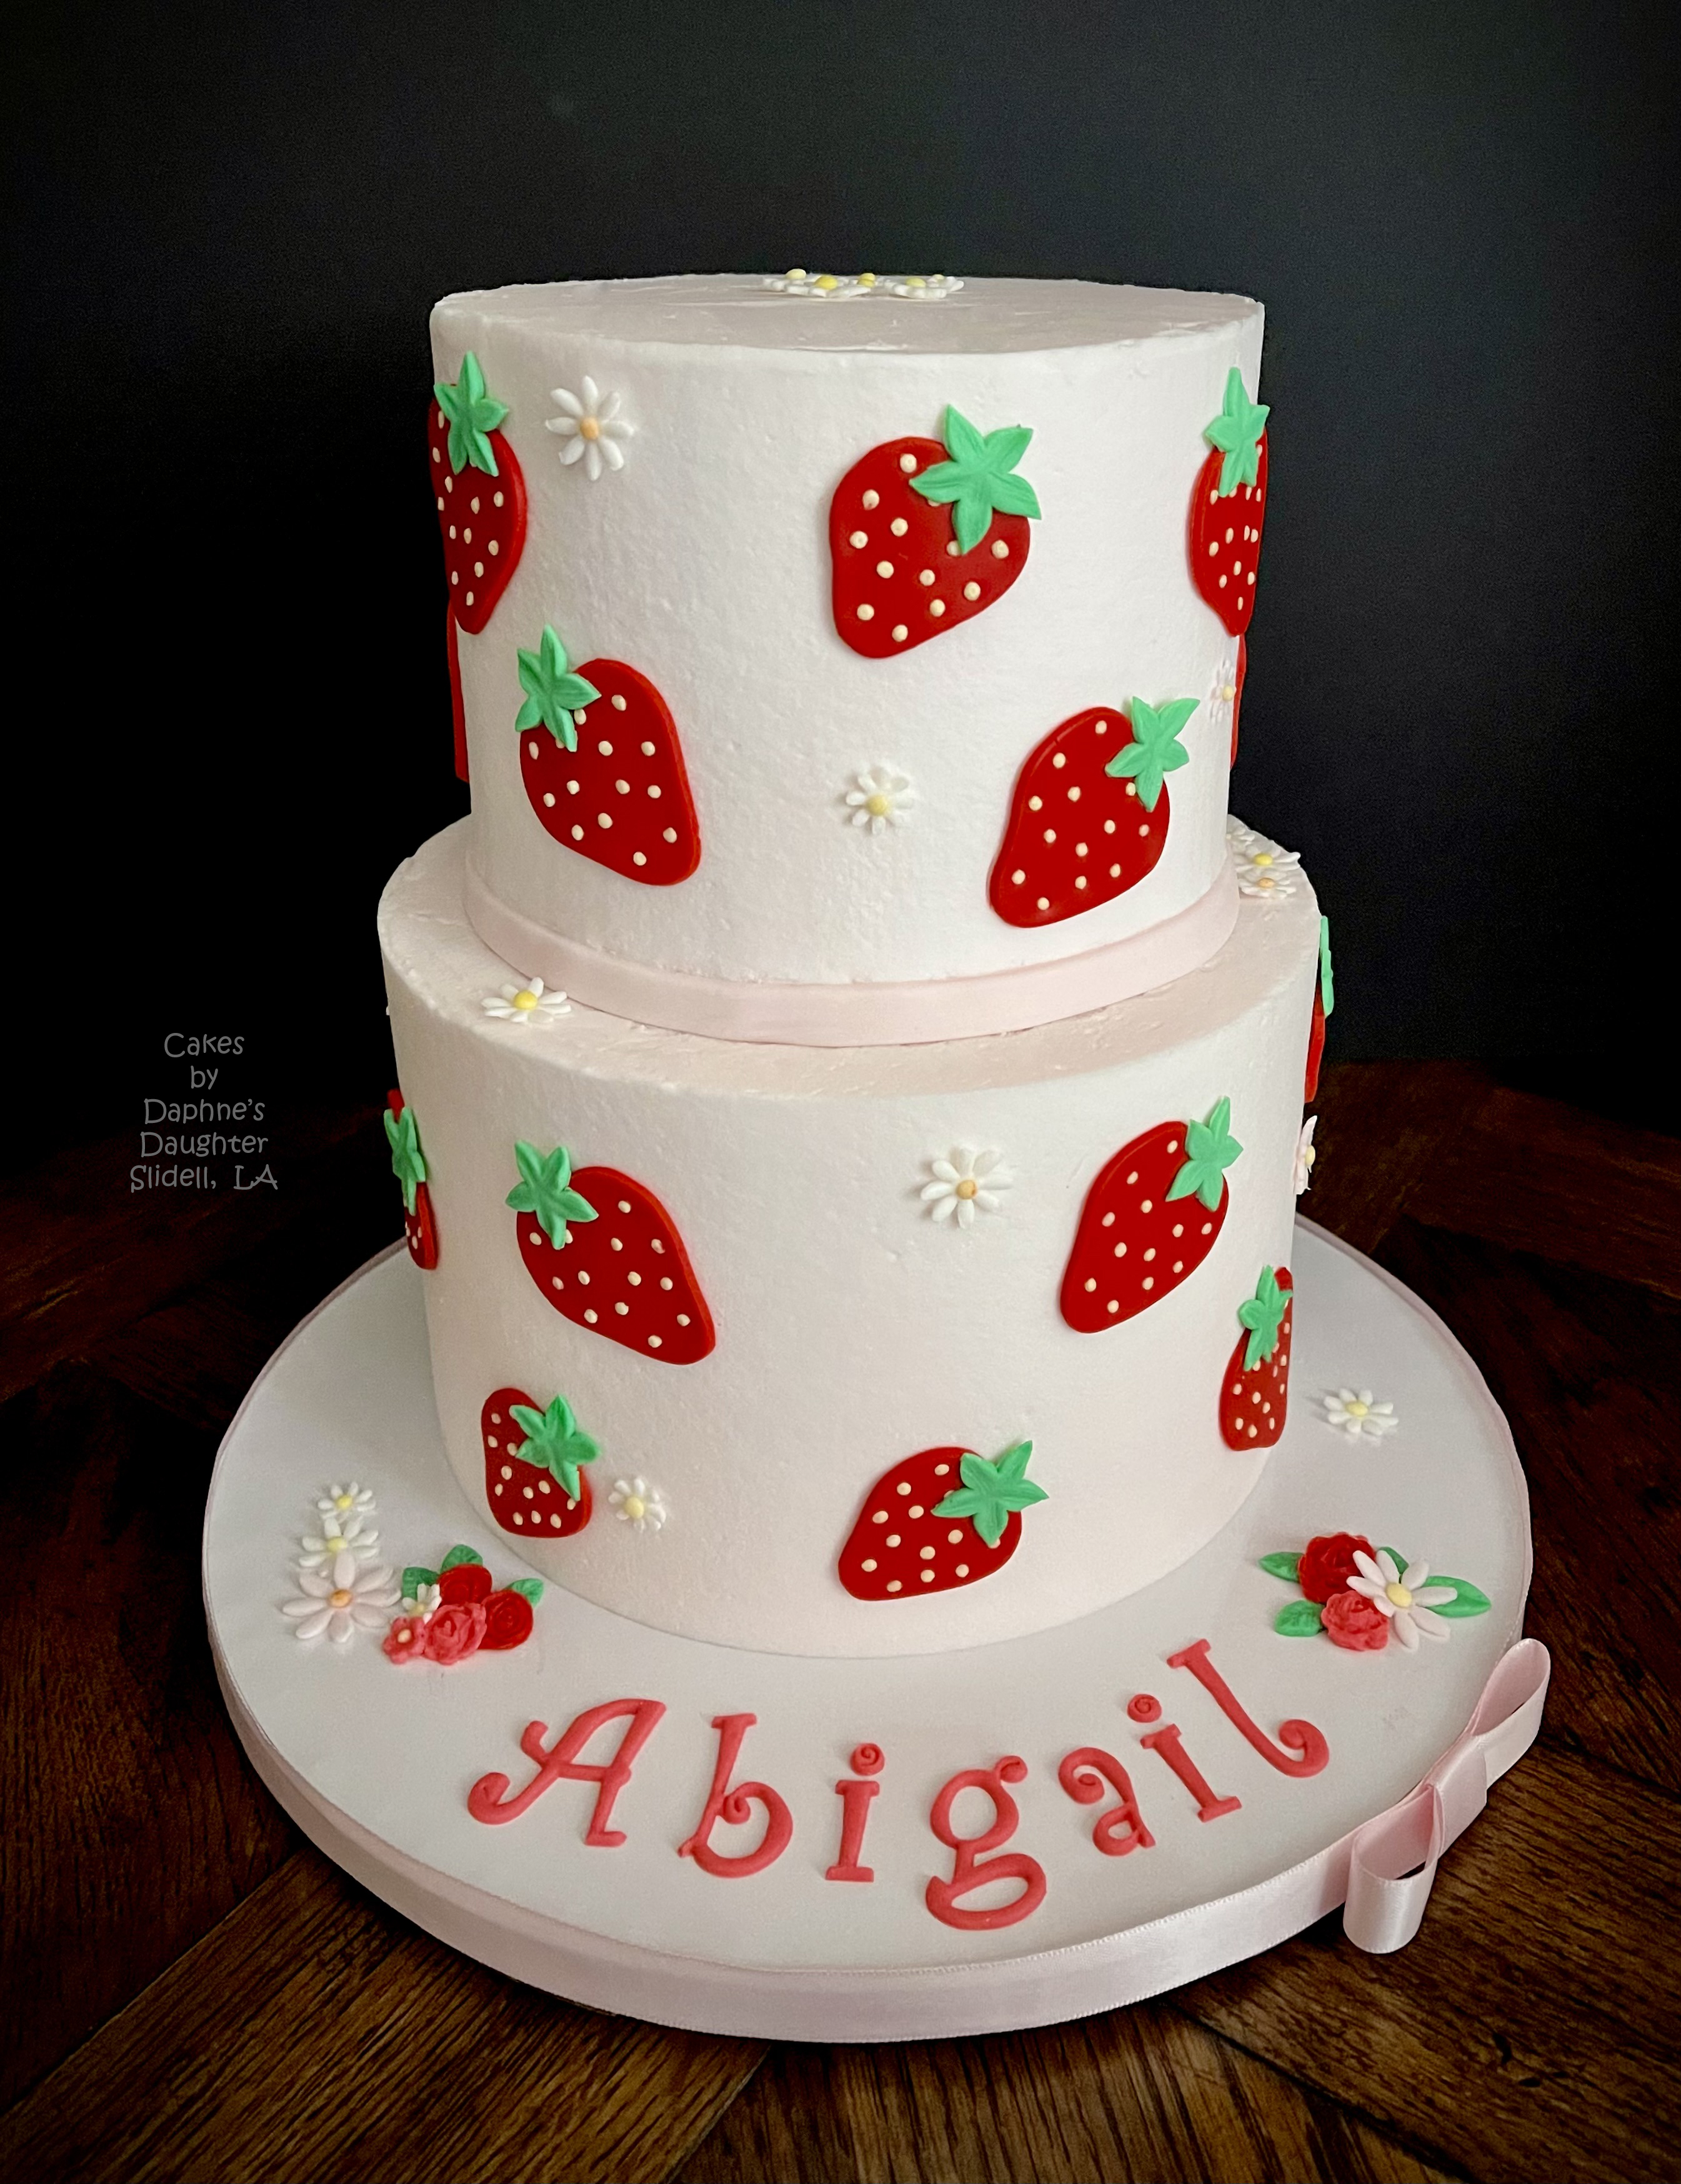
The tier cake is an 8" bottom tier and a 6" top tier. They are frosted in a pale pink American Buttercream and decorated with fondant strawberries. I used this line drawing to create fondant cutters with my 3D printer. I made two sizes: 1-3/4" and 1-1/2". If you would like to read more about making your own 3D printed cutters, click HERE.
<< Disclosure: We are a participant in the Amazon Services LLC Associates Program, an affiliate advertising program designed to provide a means for us to earn fees by linking to Amazon.com and affiliated sites.>>The strawberry is a cutter and embosser combined so I cut out the strawberry shape from red fondant and then embossed the little divots for the seeds. I tried painting the divots with white and yellow food gel, but that didn't look very good, so I just cut out tiny yellow circles and used those for the seeds. It was very time consuming because I had 25 strawberries to decorate.
I used a rose calyx shaped cutter to make the green calyx part of the strawberry, and added a little texture to the sepals using a veiner tool. For the lettering I used FMM's Funky Tappits 3cm upper and lower case.For the smash cake I baked two 8" round cakes, and carved them into the shape of a strawberry. I frosted with a thick coating of white buttercream, and then added a thin coating of red buttercream on top of that. I wanted to limit the amount of red buttercream because I didn't want the poor baby's face and hands to get too stained up with red food dye.
Normally I would have made the strawberry seeds out of fondant, but I was afraid the tiny fondant pieces would be a choking hazard so I made them out of buttercream. I smeared a thin coat of buttercream on some parchment paper and froze the buttercream for 10 minutes. Then I used a tiny heart shaped plunger cutter to cut out little seeds and placed them on the cake. I should have used an oval cutter instead, but I couldn't find them in my bins of supplies. Guess I need to buy more.
The buttercream defrosted and softened very quickly so I had to keep popping the buttercream strip in the freezer so it could harden up again.
For the greenery on the strawberry I went ahead and used fondant. The pieces were large enough that the baby could pick them up and gnaw on them if she wanted. I just cut the pieces by hand and then used a random silicone veiner to give it some texture.
So in the end this was a pretty easy cake to put together. The hardest part was placing all the seeds/pits on the strawberries. Next time I will just leave the little holes unfilled.
Happy Decorating,
Carol