
I made a few toilet paper cakes during the pandemic (it was a big joke), but now I'm making toilet paper cakes for the people turning 40 and 50 and 60! Crap You're Old!

<< Disclosure: We are a participant in the Amazon Services LLC Associates Program, an affiliate advertising program designed to provide a means for us to earn fees by linking to Amazon.com and affiliated sites.>>
This was a really easy cake to make. The cake itself is 10" (about 5-3/4" tall) and it is sitting on a 14" white cake drum.
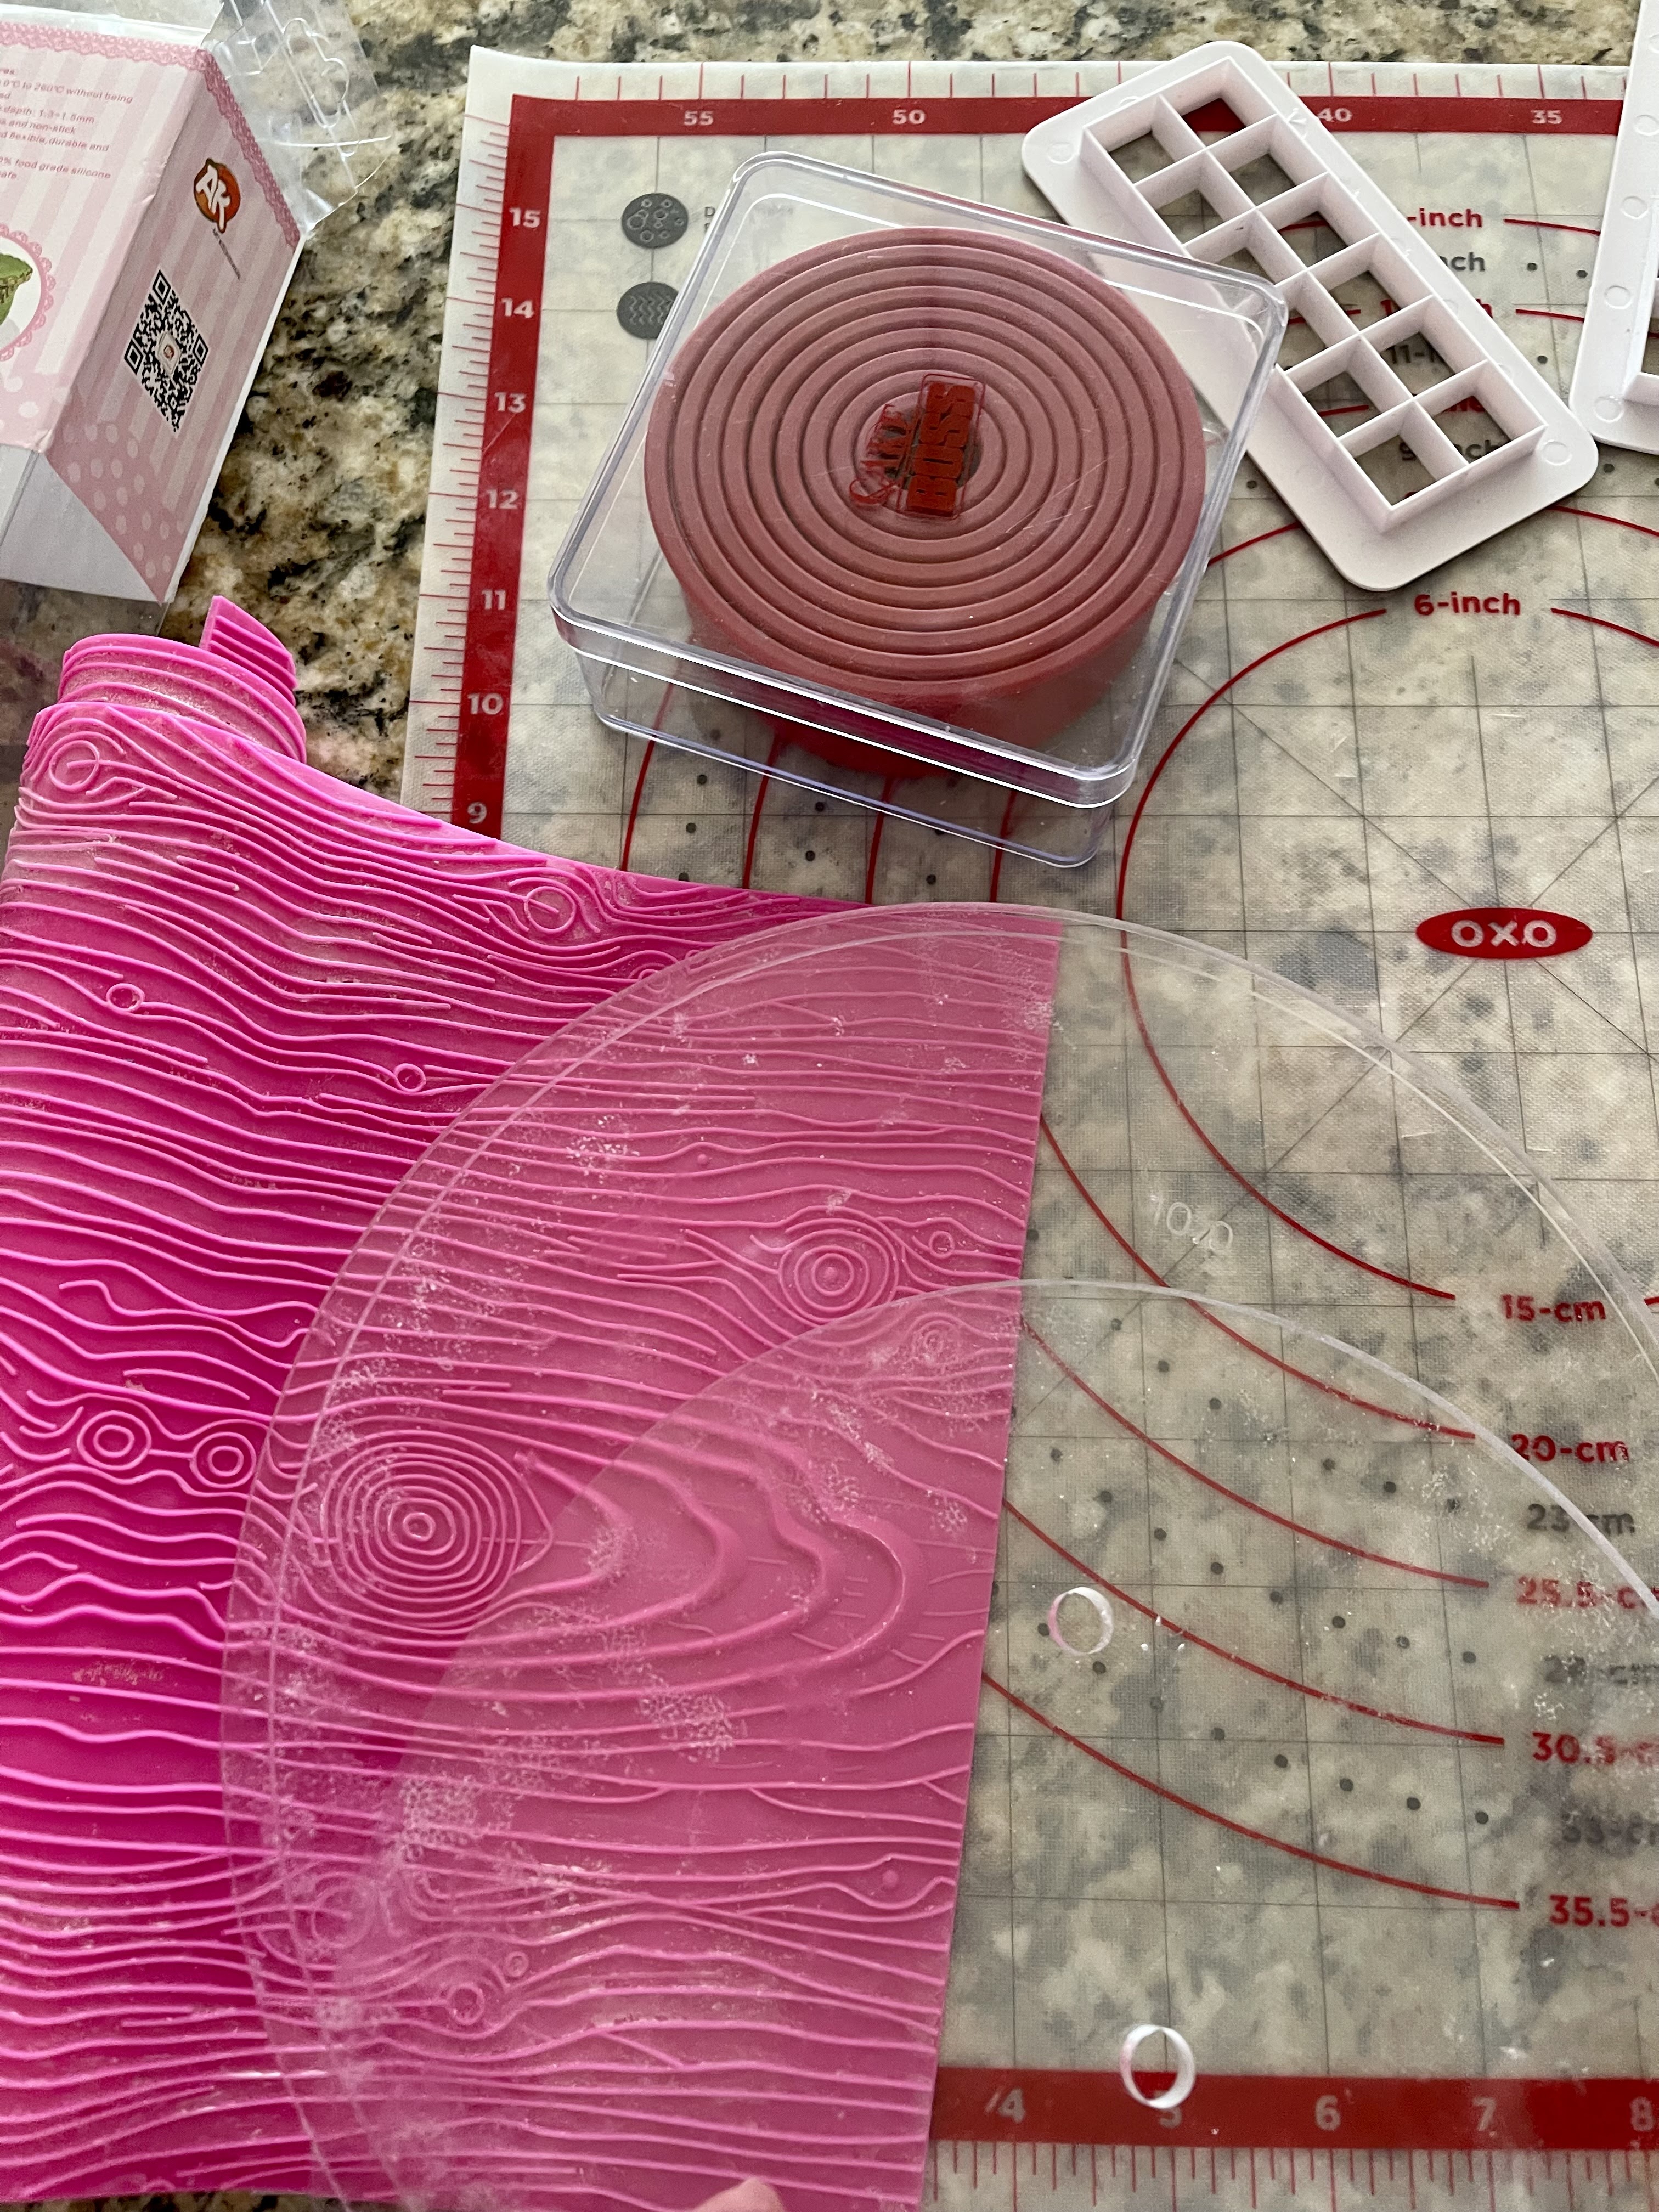
As usual I forgot to take pictures as I was working so I just took some pictures of all my supplies.
First, I made the "Crap" sign. I used Wilton White and Chocolate fondant mixed with some Gum Tex Powder. The Gum Tex (also called CMC or Tylose) will make the fondant dry rock hard.
First I made a few shades of brown and then mixed the powder into the different shades. Then I marbled/blended the shades together making sure not to mix them too much and lose the shading. Then I rolled flat, textured with a wood grain impression mat and then cut into planks large enough to fit the size of the letters. I cut a thick, narrow piece for the post and embedded a long, thick bamboo skewer into the fondant. Once everything dried, I "glued" the post to the boards with some melted dark chocolate candy melts and let the candy melts harden. After that I added the Art Deco style lettering in black fondant. I also dusted the sign with some white, brown, and black petal dust to give it a little more color.

Next I prepared the cake drum with the black and white checker board pattern. I rolled the fondant thin and then cut the squares using a multi-cutter square cutter. Prior to placing the squares, I dabbed the board with a little piping gel to help the fondant stick to the drum. But just use a very, very small amount of piping gel. You don't want it oozing - that makes a huge mess. With all the squares cut I just started placing them on the drum. And I didn't cover the entire drum. I only placed enough squares to cover about 2-1/2" around the outer edge of the drum. No reason to decorate the part that would be covered by the cake.
After the drum was decorated, I placed the frosted cake on the drum and started decorating. First step was the top. I just rolled out white fondant and then used a 10" acrylic disk to cut a circle to exactly match the size of my cake. (Note I also used the 10" acrylic disk to frost the cake.) Then I just used regular circle cutters to make the smaller circular impression in the fondant. When I needed circles larger than the cutters, I used my trusty acrylic disks. I have these things in all sizes from 5" to 12". I just placed the disk on top of the fondant and used a scoring tool to make the lines. In some of the areas I didn't have a guide, so I just hand drew them in. Here is a closeup of the top. It doesn't matter if it looks a little messy, it is just toilet paper. LOL. I also cut out the white center area with a cookie cutter and filled it with a piece of brown fondant cut to the same size.

Next I covered the side. My cake was about 5-3/4" tall so I rolled out piece of fondant about 6" wide and as long as I could make it. I rolled the fondant out on a large silicone mat that had markings every inch. I used a fancy designed impression mat to press the pattern into the fondant, and then used a long ruler and the markings on the silicone mat to cut the strip of fondant to the exact height I needed. After the fondant strip was the correct height, I used a ruler and a "stitching tool" to mark the "sheet" of toilet paper. Don't cut through the fondant with the stitching tool, you just want enough pressure to mark the line. Once on the cake, you can go back over the line to deepen it. To get the long strip onto the side of the cake, I rolled the fondant onto a small rolling pin. I dusted the fondant with corn starch to keep it from sticking together.

Then I just unrolled the fondant onto the side of the cake. I had to make two panels of fondant to cover the entire cake. I just joined the piece together at a "sheet" of toilet paper. Once the side was covered, I used the stitching tool to deepen the lines. I also dusted the seam with a very, very light dusting of brown petal dust. But do this with extreme care because too much brown dust will make your toilet paper look dirty.

