
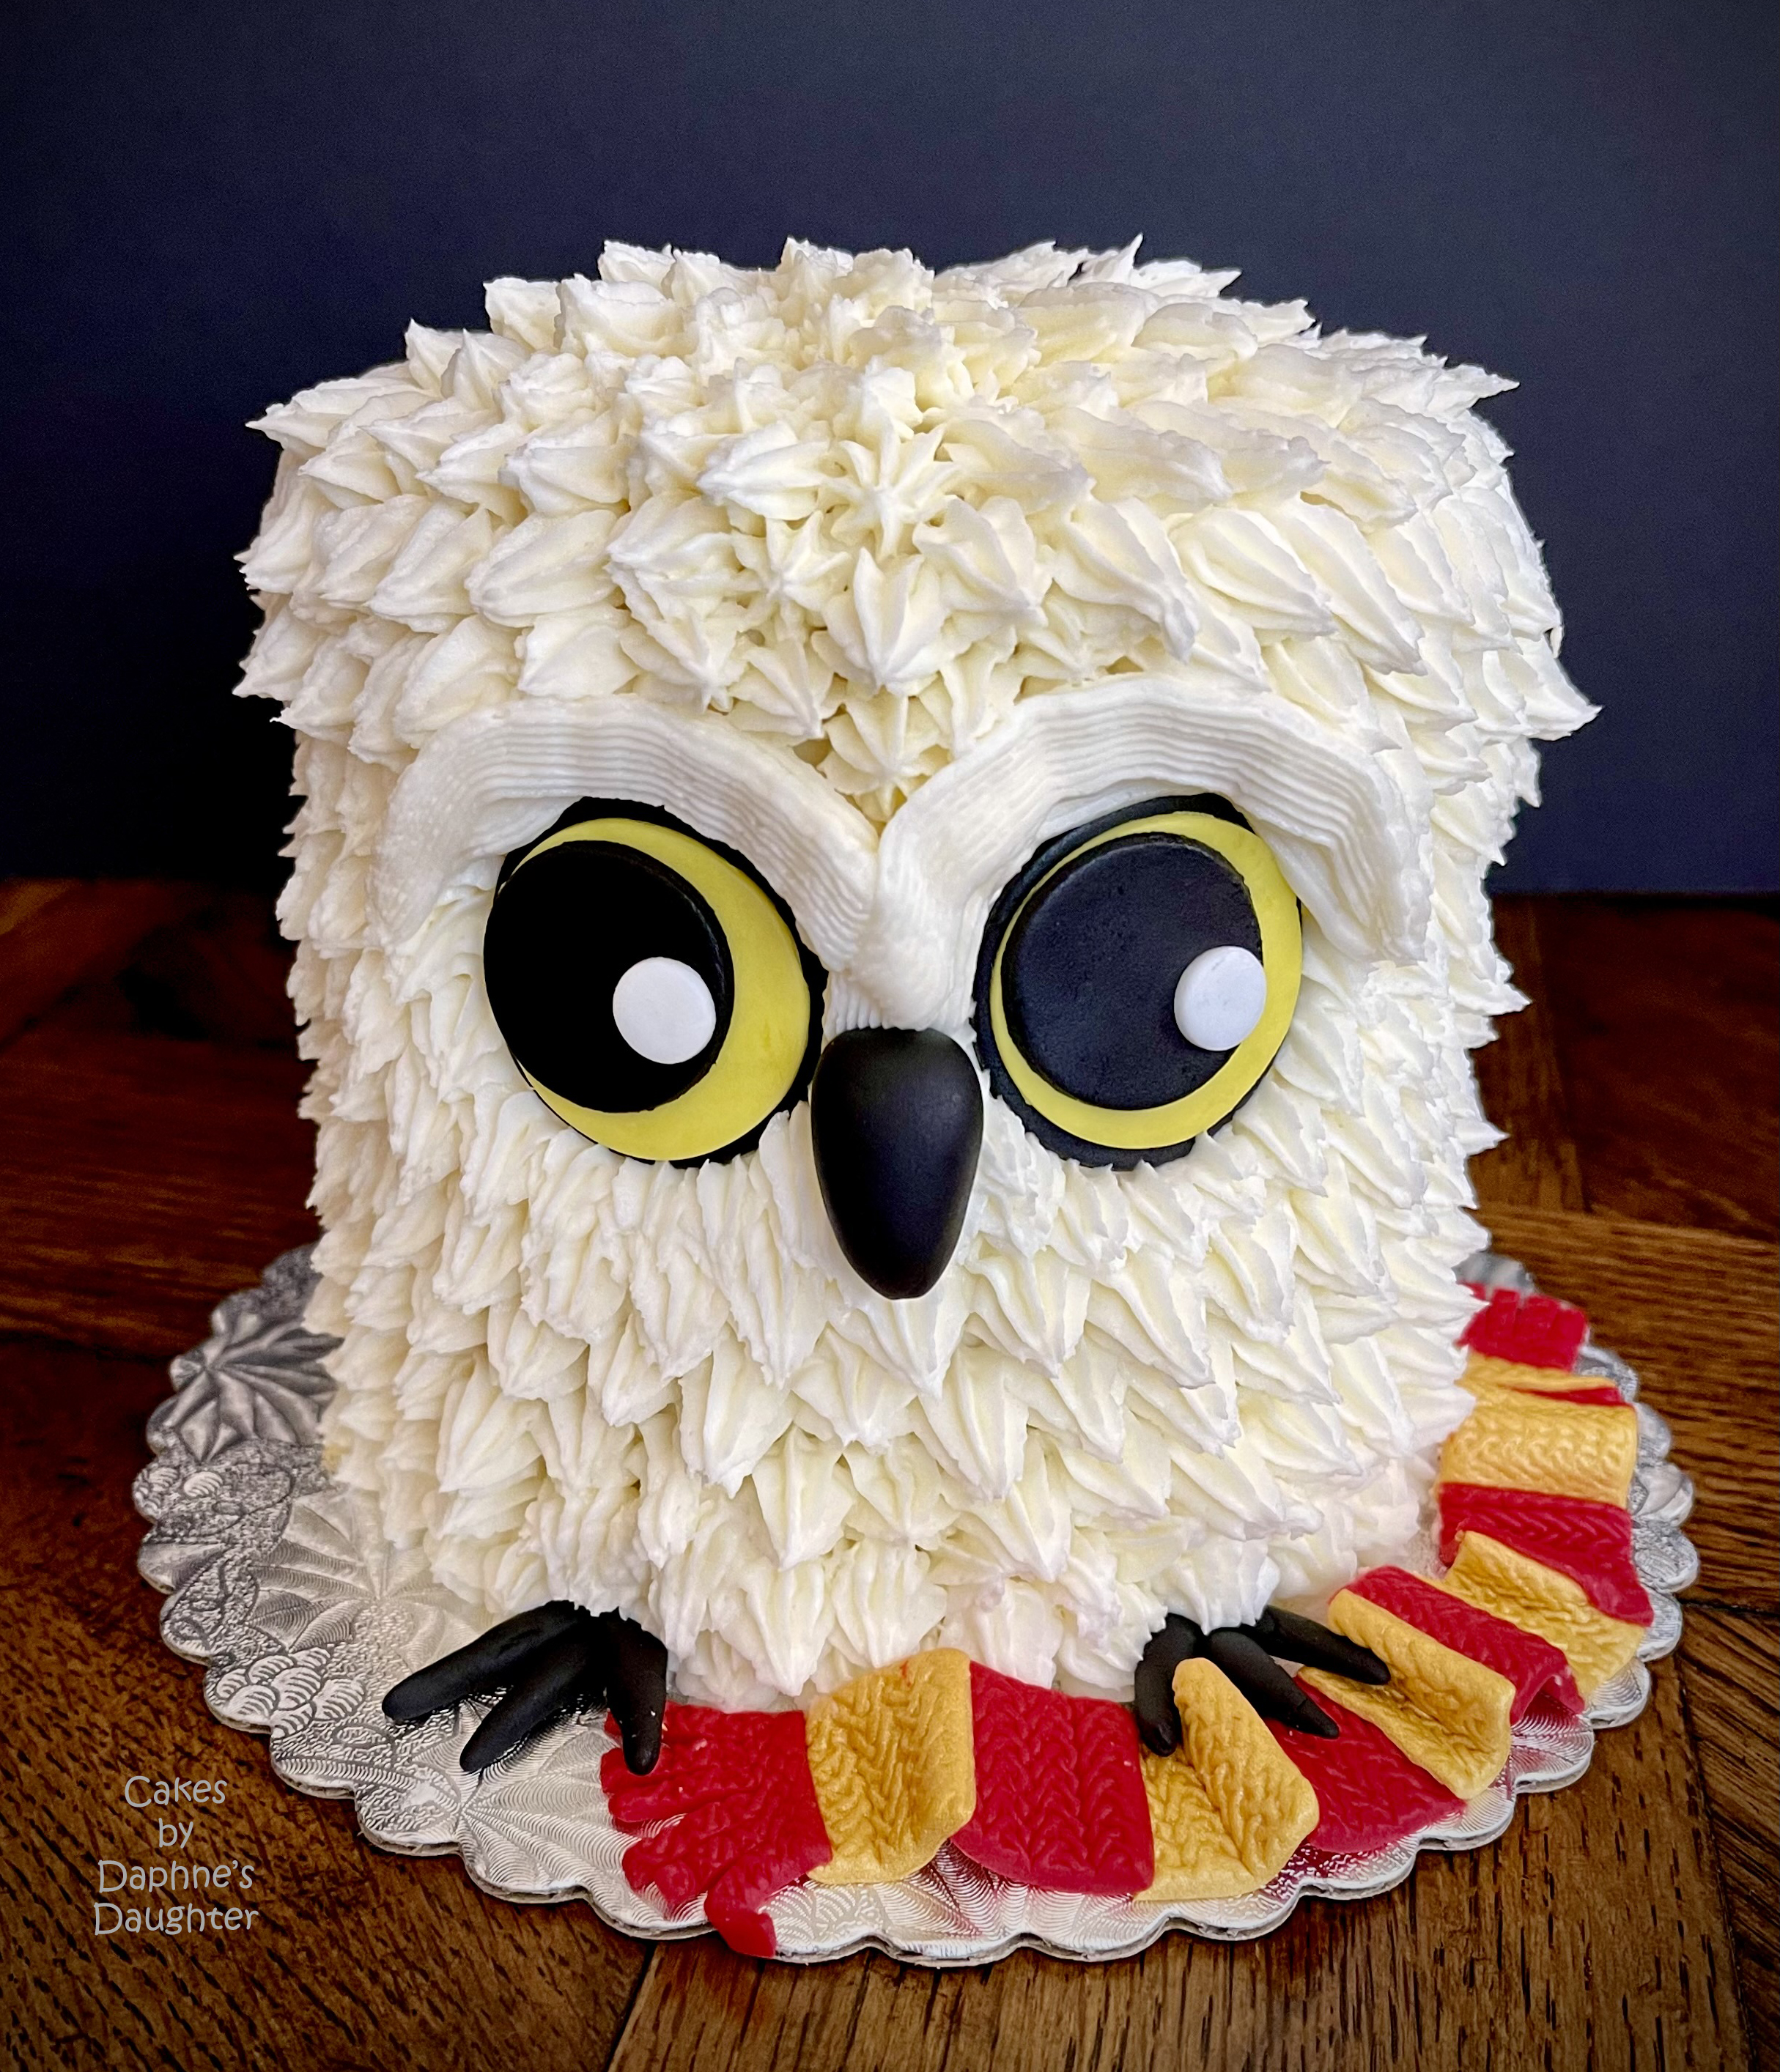
How cute is this little Hedwig Smash Cake???!!!! And it was so easy to make. Cut a few fondant circles, pipe on some "feathers" and you are done!
<< Disclosure: We are a participant in the Amazon Services LLC Associates Program, an affiliate advertising program designed to provide a means for us to earn fees by linking to Amazon.com and affiliated sites.>>
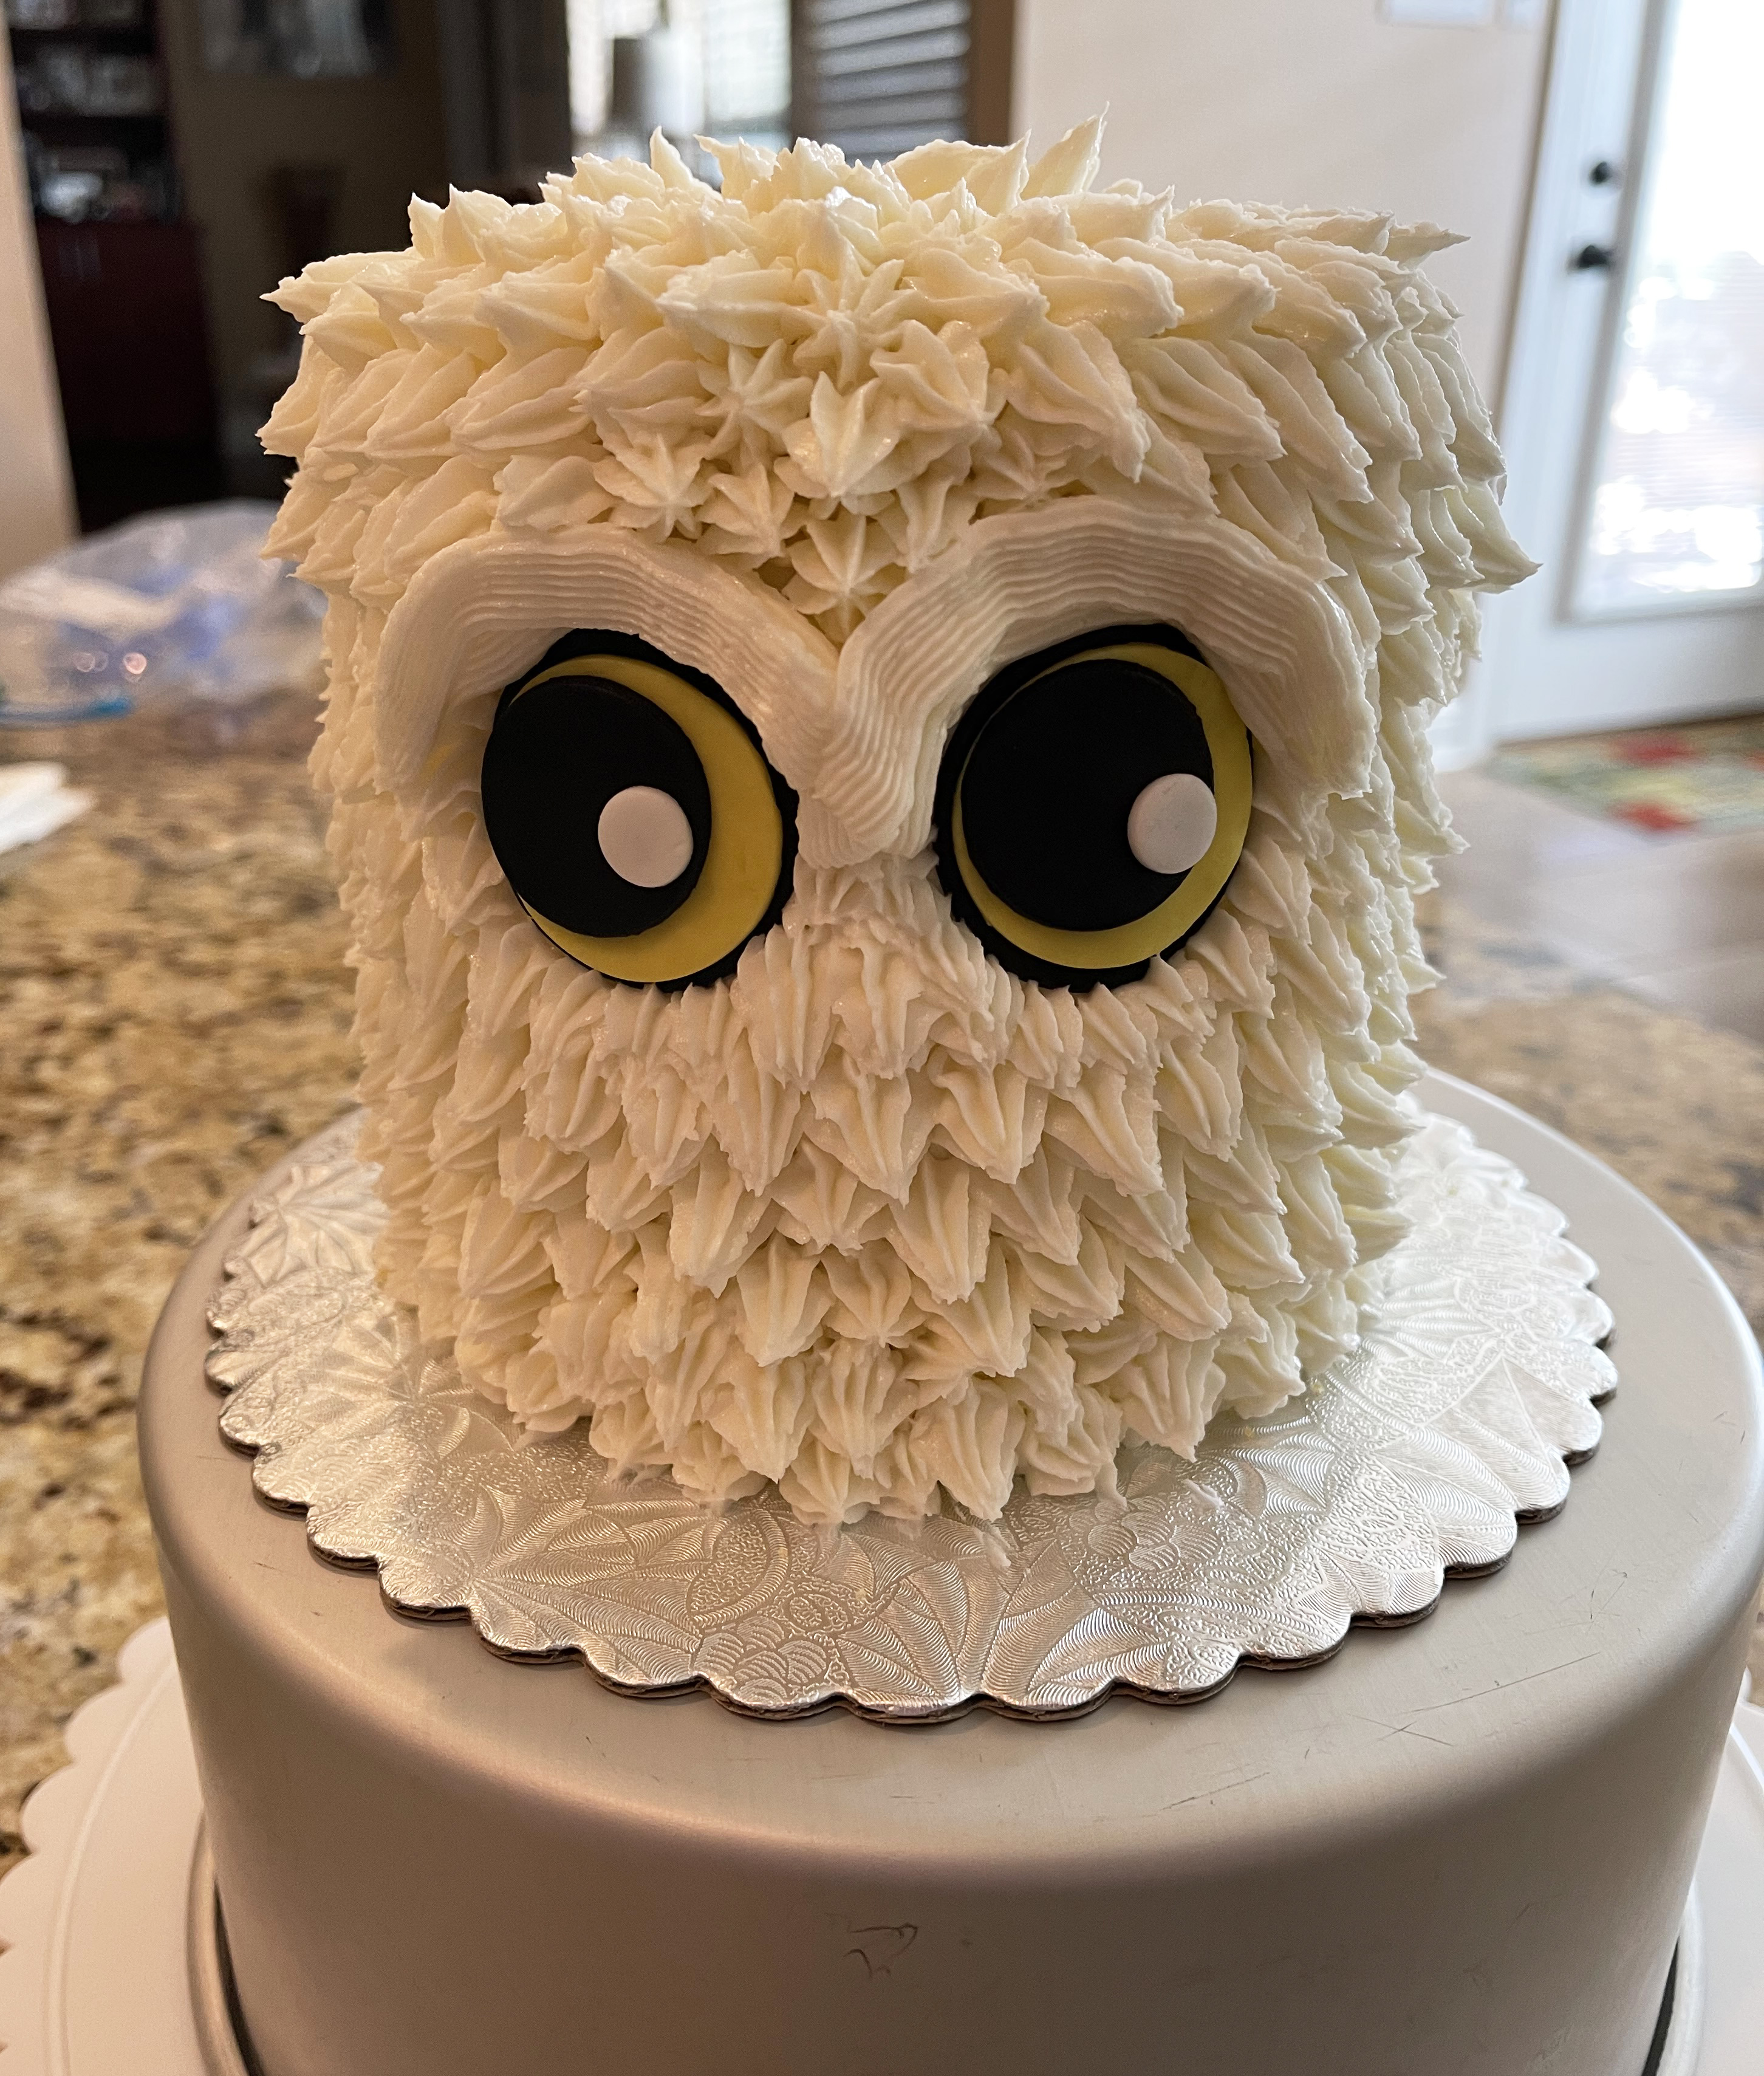
The cake itself is a three layer 5" cake. (These 5" Fat Daddio pans are the perfect size for a smash cake.) With the three layers the cake was about 6" tall. At first I thought it would be too tall, but in the end I think the added height gave the cake a more majestic look
First step to this Hedwig was to stack and crumb coat the cake and then put it in the refrigerator to chill. While chilling, I cut some circles out of black, yellow, and white fondant. I have a bunch of different circle cutters and I just used the one that looked the best. The biggest circle was the black at the bottom, then a slightly smaller circle in yellow, then a black circle, and finally I cut a small circle in white using tiny circle cutters. (I love these tiny circle cutters - they come in so handy).
Stack the circles to form the eyes...

...and then place the eyes on the cake. But make sure the eyes are even and the white dots are pointing the the same direction - unless you want a cross-eyed Hedwig.

Then using a Wilton #21 Open Star piping tip, I started piping on the feathers. In the photo below you can see what NOT to do. I just piped regular stars and realized that they didn't look right. They look like little flowers instead of elongated feathers.

To pipe a regular frosting star, you apply pressure to the bag and place a dot of frosting on the cake. With the dot in place, you then release the pressure on the bag as you quickly pull the tip away. This gives you a compact, pointed star. In contrast, to pipe a feather you want to apply the dot of frosting but then slowly release the pressure on the bag as you pull the tip down and away from the dot. This gives you an elongated tail attached to the dot of frosting.

Once you get the hang of the piping technique, pull up a chair, flex your wrist, and start piping around and around the cake. Near the eyes I reduced the size of my dots and piped smaller feathers.

The nose is just an elongated piece of black fondant that I pushed into the buttercream.

For a final touch I added some claws/toes for Hedwig and a red and gold scarf. For the scarf I rolled out some red and shimmer gold fondant, and then I used a knit-like texture mat to make the fondant look like knitted yarn. I cut the fondant into squares and then formed a long, continuous scarf by squishing two edges of two squares together. The final step was to make fringe on the ends of the scarf by using a straight edge blade to cut 5 slices into the end squares.

I wrapped the scarf around the base of Hedwig and stuck it under his claw.

See wasn't that easy!! And best of all everyone fell in love with it.
Happy Decorating,
Carol