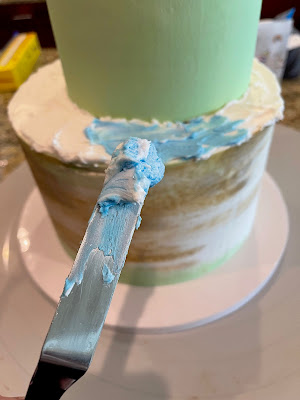
Next to my T-Rex cake, this Bayou themed cake has become my favorite. I love the soft colors and the googly eyes of the swamp critters.
The first animal I made for this cake was the turtle. This is the video tutorial I used as the example. I started with the shell and used a wood carving tool to make the octagon impressions. (You can use a lot of wood working and clay tools when sculpting fondant pieces.)
I added the flippers..
And then finished off with a round fondant ball for the head.
<< Disclosure: We are a participant in the Amazon Services LLC Associates Program, an affiliate advertising program designed to provide a means for us to earn fees by linking to Amazon.com and affiliated sites.>>
The frog came next. For this figure I used a Frog Prince figurine as the inspiration. I made the body, legs, and arms.
Sorry I forgot to take pictures as I made the frog's head. Sometimes I get so involved with the fondant that I forget I'm supposed to be making a tutorial. Anyway, here is the finished frog prince.
The alligator was the hardest part to make. I had to redo the head a few times to get it right. I started with the upper jaw and head section. I made a tapered shape and then used a craft blade to cut in the deep lines along the nose.
For the bottom jaw I made the same tapered shape, and then I added some pink fondant to represent the inside of the mouth. A long piece of pink fondant was used for the tongue. I also propped the upper jaw against the handle of a carving tool so the nose would dry and harden with an upwards slant, and rested the lower jaw on a ball of fondant so it would dry with a curved shape.
All the teeth went on next. They are just little balls of white fondant rolled to a point.
Next I made the Happy Birthday sign, the cattails, grass, and honey bees. For the lettering on the sign I used Tappit FMM Alphabet Set 1.5cm Upper Case and the Lower Case 1 cm set.
For the bees, I used a bee silicon mold. I used white and yellow fondant for the main parts of the bee, and then I just drew in the black lines using an edible marker.
Once the chocolate hardened, I just placed the lines of chocolate on the cake and added dabs of melted chocolate to glue everything in place. The melted chocolate was also used to hide any gaps in the strips of "bark". I also dusted the chocolate bark with some white, yellow, brown, and black petal dust to give it a more realistic look.
After the chocolate bark and the alligator were in place, it was just a matter of adding all my premade decorations. Here is a view of the top.
And a closeup of the bottom. I added the peach and purple flowers just to give the cake a little pop of color.


No comments:
Post a Comment