Here is a Paw Patrol cake that I made for yet another cousin. You don't realize how many cousins you have till you start making cakes for everyone!
The dogs are what I like to call 2-1/2 D. They are not flat like regular 2D, but not fully round like 3D. They are halfway in between.
<< Disclosure: We are a participant in the Amazon Services LLC Associates Program, an affiliate advertising program designed to provide a means for us to ear fees by linking to Amazon.com and affiliated sites.>>
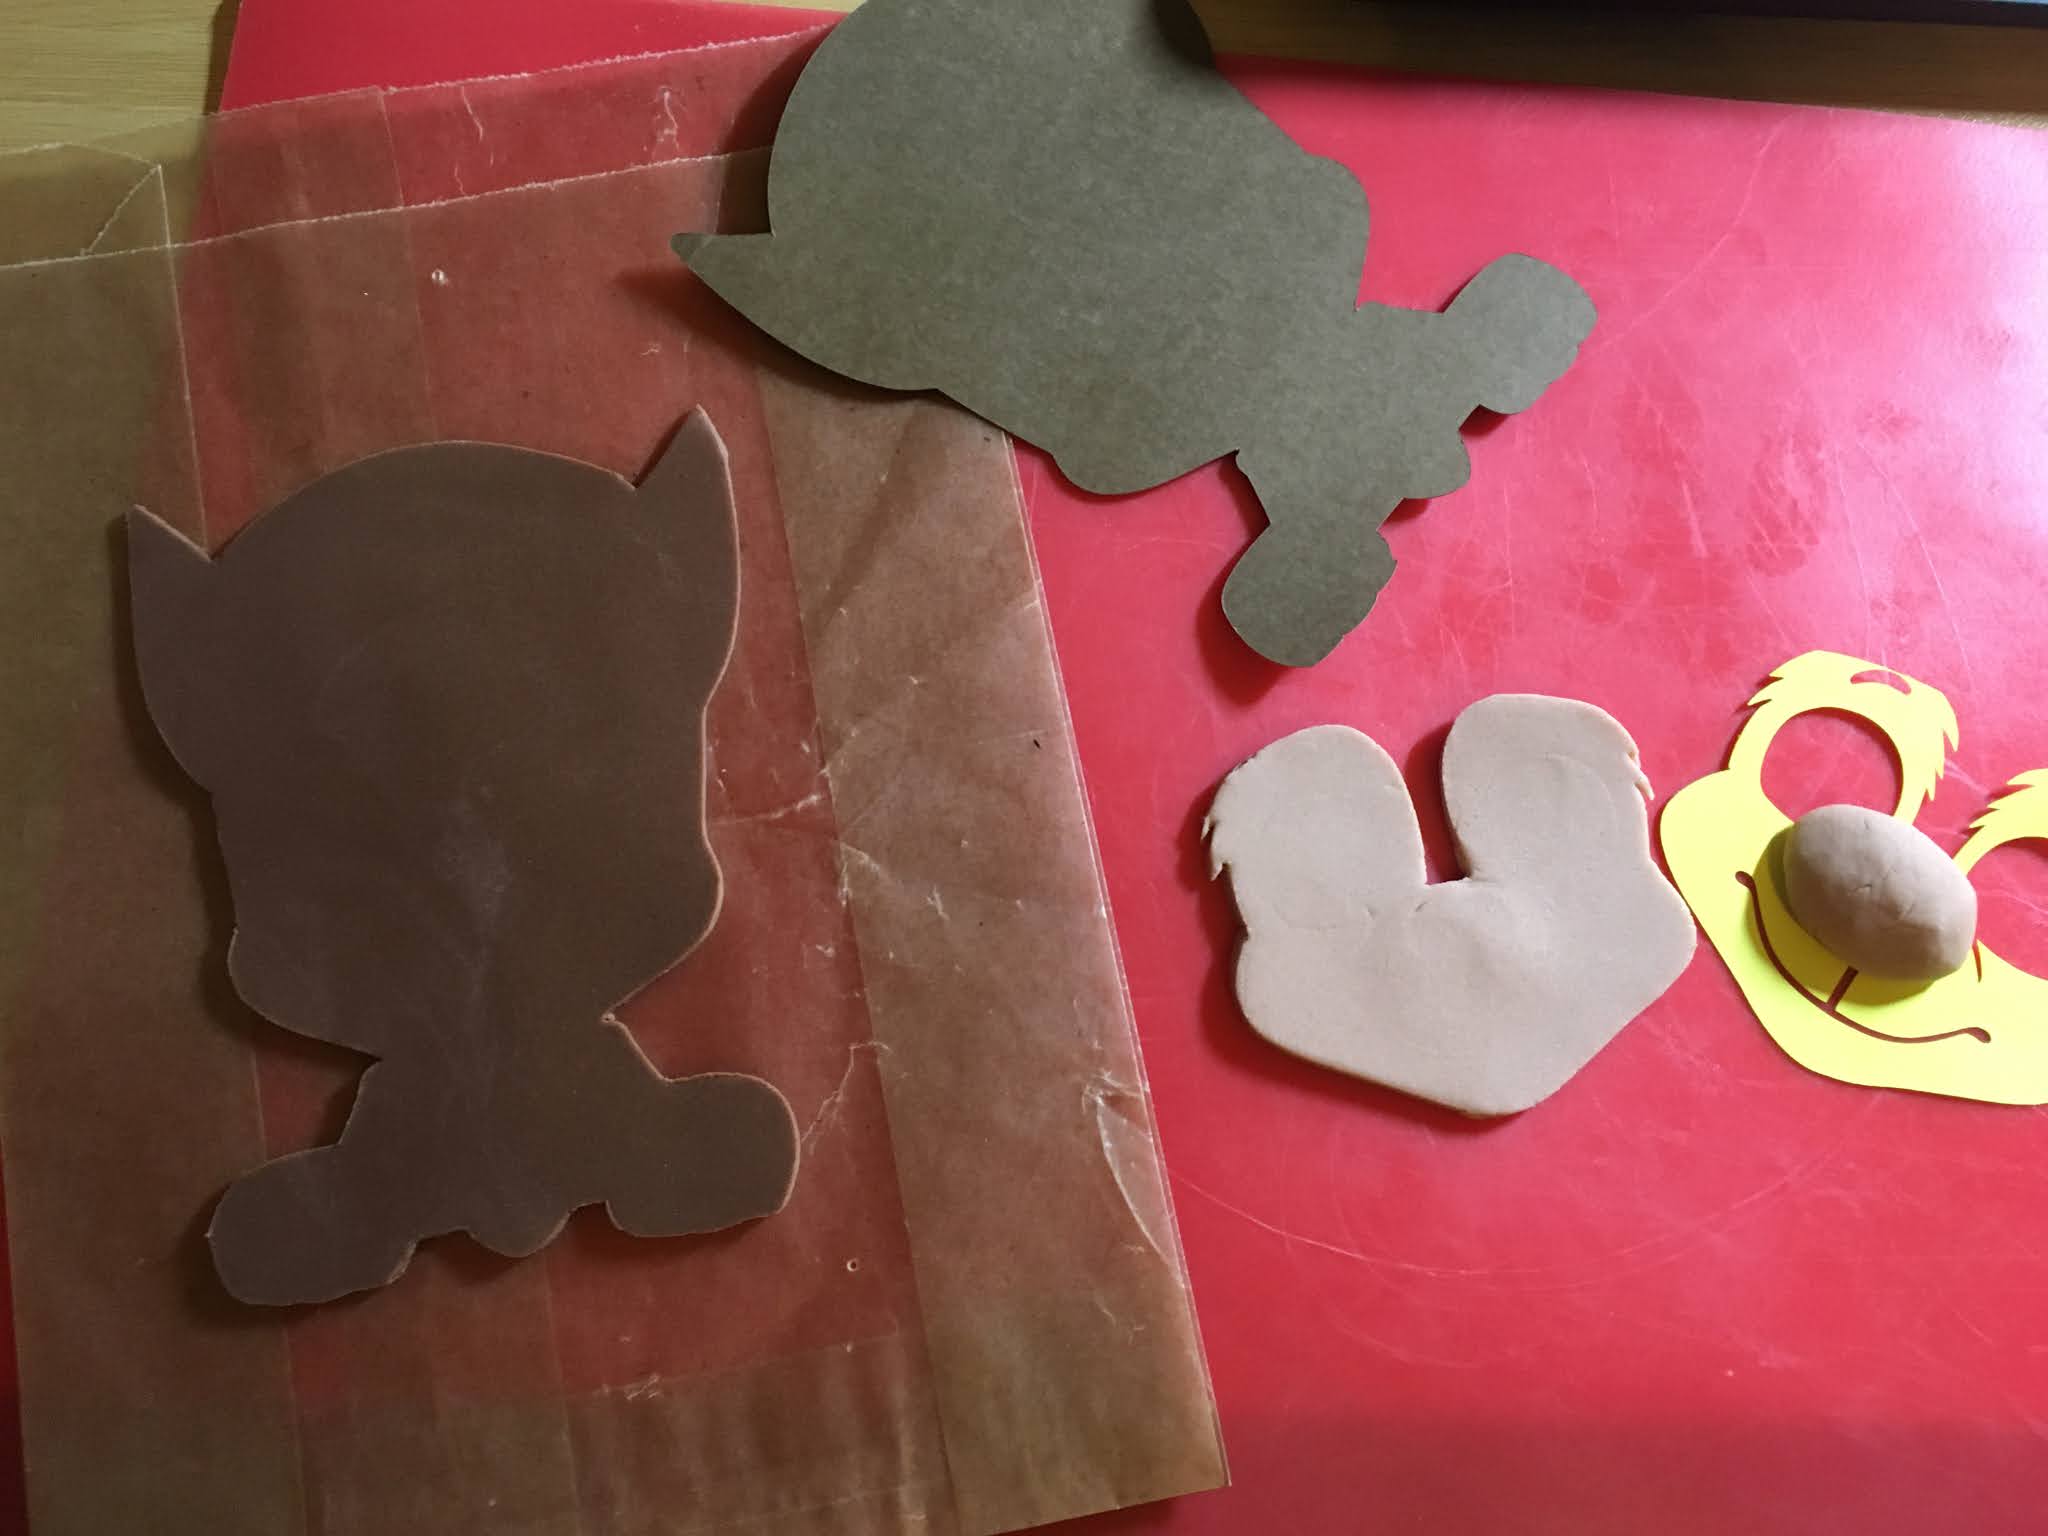
To make the dogs I purchased an SGV file from Etsy and cut the pieces using my Cricut Air Explorer 2. I then used the paper templates to cut out matching fondant pieces. If you don't have a Cricut you can just cut the pieces with a scissors. It will take longer, but you can do it with a little time and patience.
I cut a the base layer of "Chase" out of dark brown fondant. For the light brown pieces (paws, face, ears) I textured them with a ball of crumpled up aluminum foil. Pressing the foil into the soft fondant gives the fondant a hair-like look. Then once I cut all the fondant pieces I just start layering them on top of each other. It is a pretty simple process with no artistic talent needed. It is like putting together a puzzle. I also kneaded a little Tylose powder to the fondant before rolling out the fondant and cutting it. The Tylose powder (also called CMC and Gum-Tex) causes the fondant to harden and become stiff. Some of the pieces, like the nose and brim of the hat, I made extra thick just to give the dogs that 3D look. I also set the dogs on the side of a foam cake dummy while they dried. This gave them a curved shape that matched the cake. And for a final touch of realism I dabbed a little edible brown petal dust on his face to enhance the shadowed areas. The brands of petal dust that I use are ColorPop and Roxy & Rich. Both brands are edible; don't accidently get a brand that is not food safe. No one will probably eat the hardened fondant dogs, but you never know. And for a final, final touch of realism I used an edible black marker to add the tiny black whisker marks between his nose and mouth.

I made all the dogs ahead of time, so when I assembled the cake most of the decorating was already finished. Here I am making Marshall. His base is black fondant, with other pieces cut from white, red, and yellow fondant. For making pieces like this I typically use Wilton or the Hobby Lobby or Michaels store brands. They are cheap and no one is going to eat them so I don't have to worry about the taste.
For the spots on Marshall's ears I used tiny circle cutters to cut out areas that looked like spots. I also used the circle cutter to cut the tiny paw prints for the shield.
Rubble came next...
On assembly day I covered a cake drum with green fondant, and used an alligator impression mat to give it a cool design. I didn't cover the center of the cake drum with fondant because the cake covered that area and I don't like to waste fondant.

Then I cut out the clouds and grass using some cloud shaped cutters. The clouds on the top were made from Wilton gum paste so they would dry hard and stay in that upright position. (Don't use Satin Ice gum paste because that stuff never really hardens.) The clouds and grass on the cake itself are fondant, and all where cut using the same cloud cutters.
For the letter/names, I went to the FontMeme.com and printed out the name Myles. I used the paper template to cut out the individual letters in blue and yellow fondant.
So you see, easy peasy. Just cut out paper templates, cut the fondant to match the paper templates, and stack the fondant cut outs to form the dogs. Nothing to it!


Hi I was just wondering how did you get the different colour/shade of browns I’m really struggling on try to figure that part out
ReplyDeleteHi, For the brown shading on the face I used petal dust. Petal dust is powdered food coloring and in comes in every shade and color you can imagine. You just put a little dust on a dry paint brush and dab it on to the fondant to add shading, highlights, or just color. I added some links in the tutorial on the products I used. Hope this helps, Carol
ReplyDeletePlease share link for Paw Patrol cake
ReplyDelete.
It is amazing !!