Wednesday, September 20, 2017

Minion Hawaiian Hula Skirt Cake

Don't you just love those Minion???  
So adorable, so amusing, 
and soooo tasty when they are in cake form.


Another of my cousins requested this cake for her daughter's second birthday.  The birthday girl is in love with Minions, and since I love Minions too, this was a very fun cake to make.

If you have read any of my other posts, you know that time management is my Achilles heal: things always take 3 times as long as I expect them to.  So to get ahead of the curve, I made a few of the cake decorations in advance.

<< Disclosure: We are a participant in the Amazon Services LLC Associates Program, an affiliate advertising program designed to provide a means for us to earn fees by linking to Amazon.com and affiliated sites.>>

For the coconut bathing suit top I just cut out a circle from brown gumpaste, and then scored and cut the top of the gumpaste to make it look fuzzy and hairy like a real coconut.  I kept it in the cookie cutter so it wouldn't pull out of shape while I slashed up the top. 


Then I put it on top of a light bulb while it dried so it would have a "C" cup instead of a barely "A" cup.


Next came the Minion goggles, again out of gumpaste.  Here is a view of the back side of the goggles.  I don't have a picture, but to make sure the goggles would wrap snugly around the finished cake I placed the piece on the curved side on an 8" cake dummy while the gumpaste dried. After it dried, I painted it with some edible silver luster dust that I mixed with vodka to form a thin paste.  The luster dust made the goggles really shiny and sparkly.


The flowers were also gumpaste.  I used the FMM Hawaiian flower cutter set and some Wilton stamens for the center.


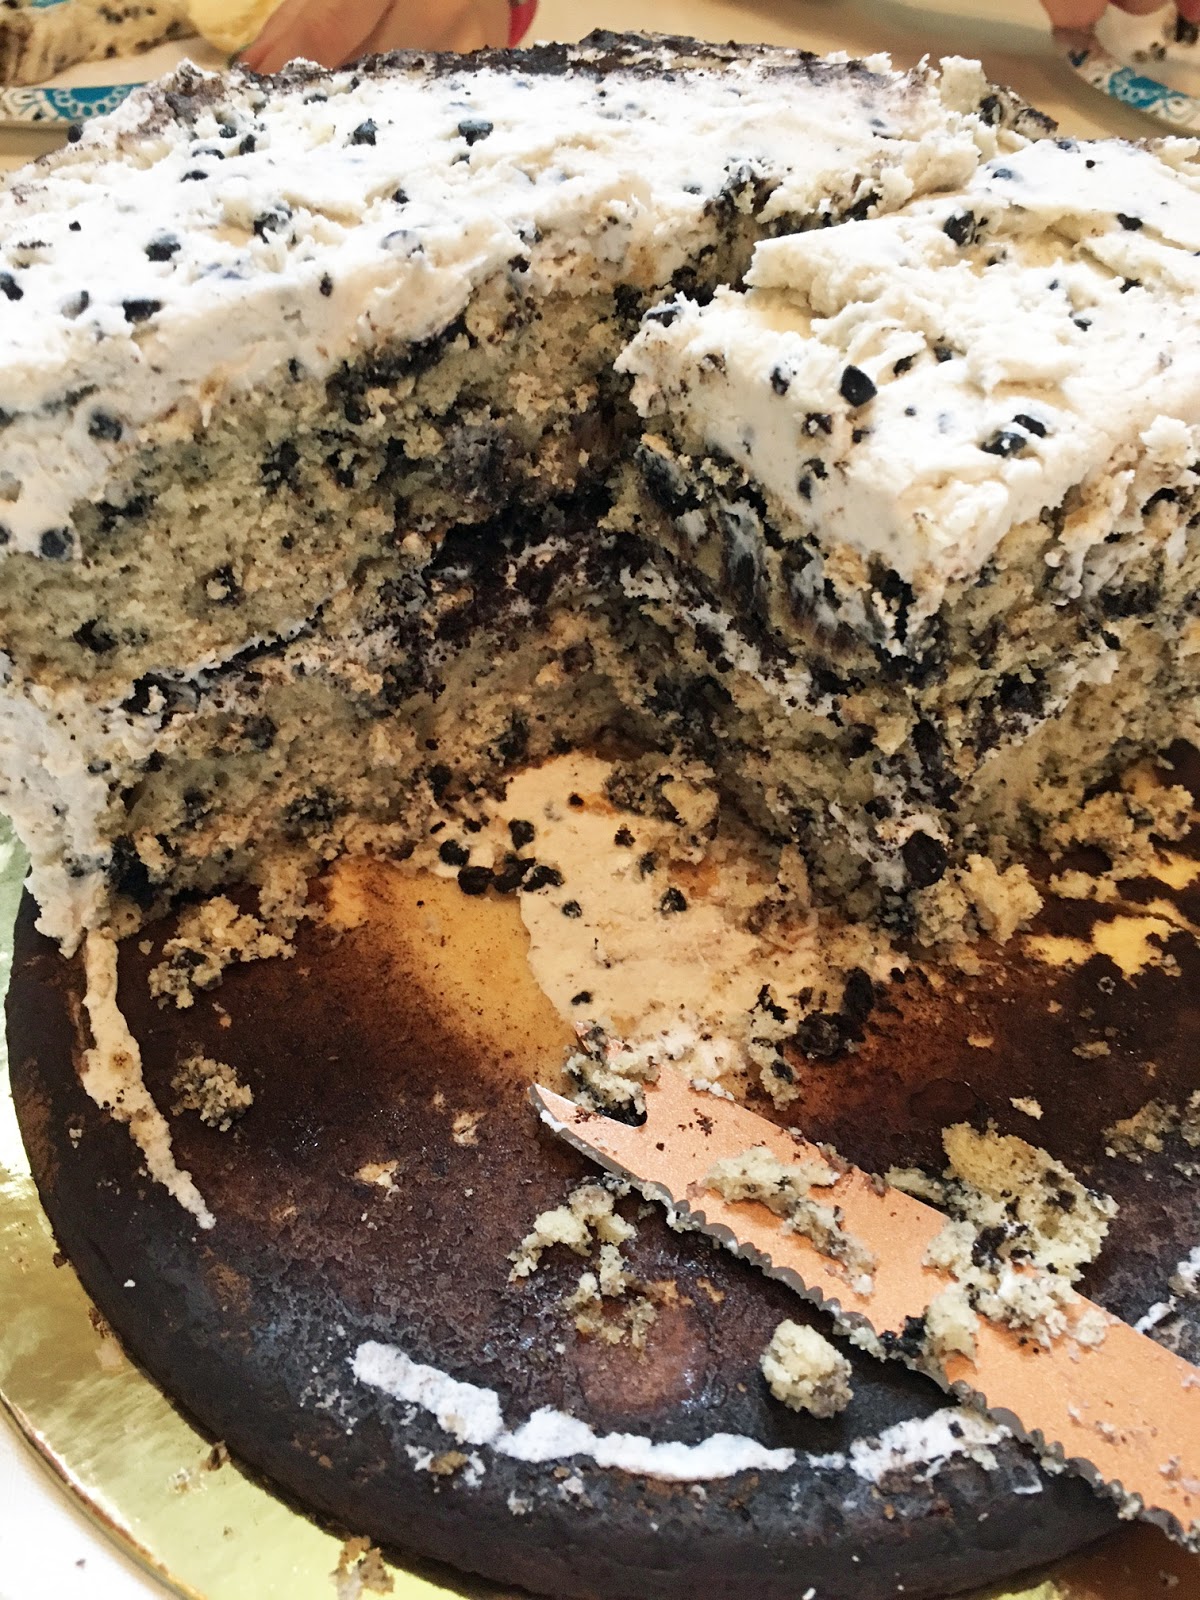
The cake itself was a two tiered, double barrel, 8" tower of white almond goodness.  The bottom tier was three layers, and the top tier was 4 layers counting the carved layer that made the dome shaped head. 


For the base of the top tier I used a foam core board instead of a regular cardboard round.  The foam core is more expensive, but it is also much, much sturdier than cardboard (especially when the cardboard gets damp and soft and starts to bend).  In my mind the extra 2 bucks is worth the price. 


In total the cake was about 11" high.  


Next comes the fondant.  I used Mona Lisa Fondant for this cake and tinted it using Wilton's Golden Yellow.  This is a great fondant if you live in an area with high humidity.  It stays dry as a bone and doesn't get clammy or gooey even on the most humid days.


Okay, time to start decorating.  First I made some hands, feet, and spiky hair pieces.


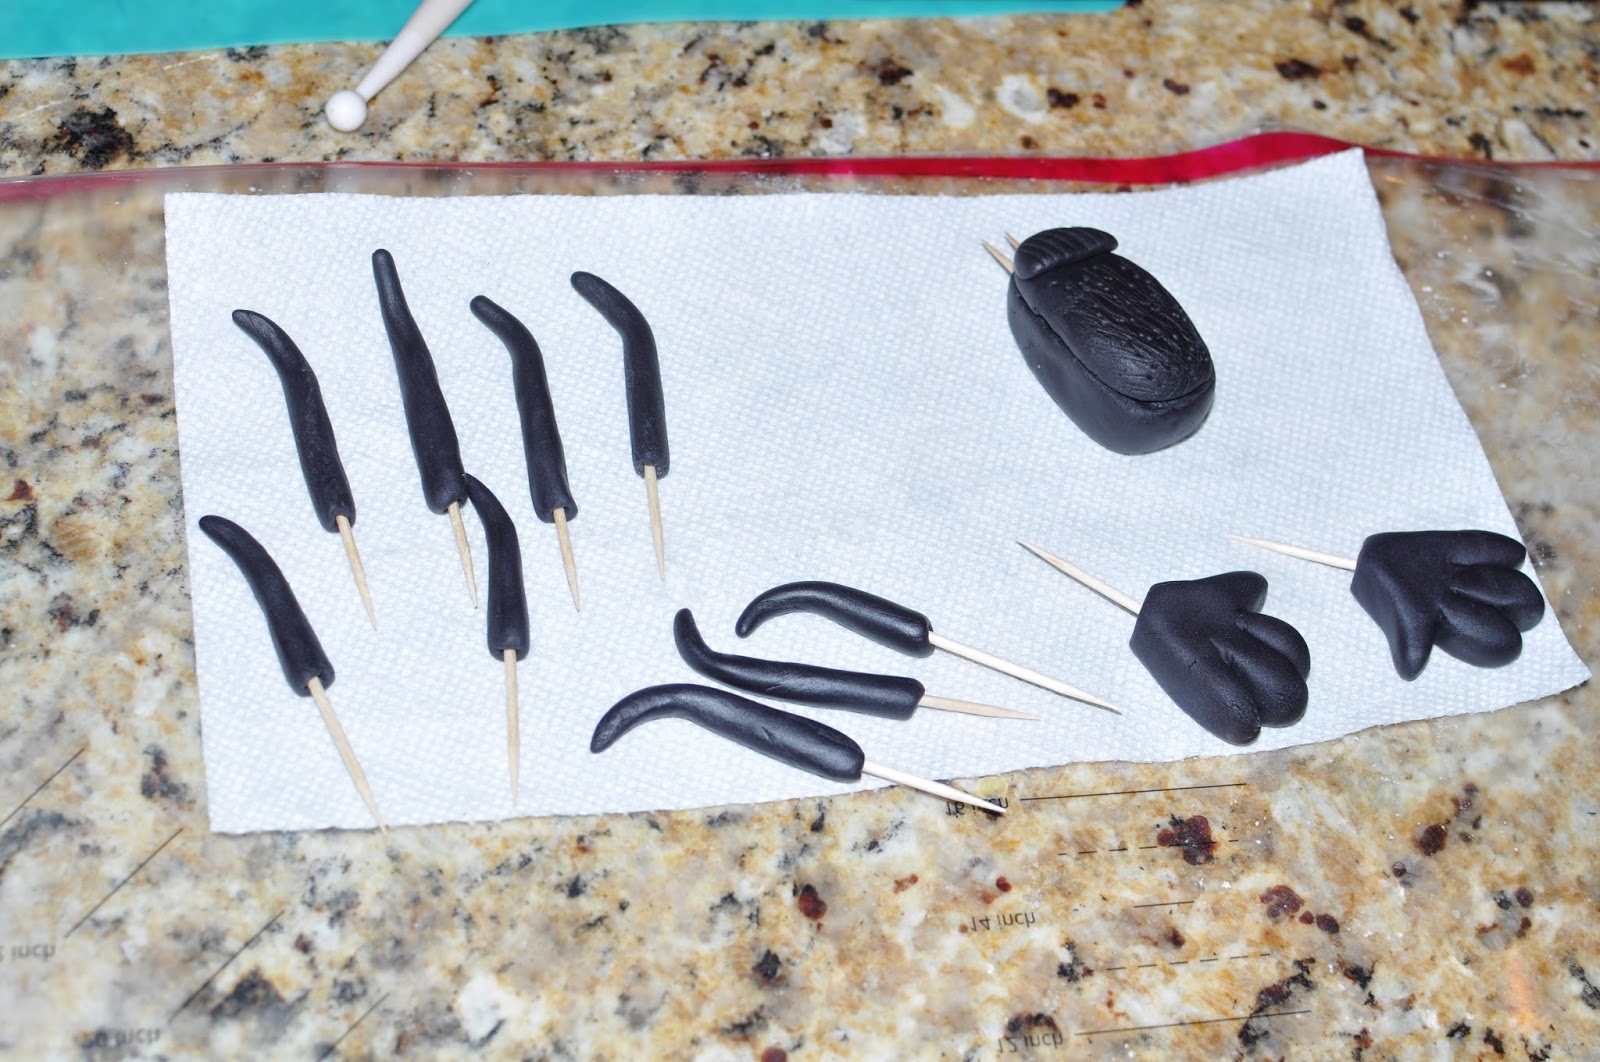
Made the eyes too...


Then I started cutting leaves for the grass hula skirt.  I actually made three different shades of green, but I guess I didn't make the shades different enough cause once they were on the cake they all looked the same.  I used a generic Wilton leaf cutter, and then cut the edges to make it look more tropical.


Before placing the leaves on the cake I marked the cake itself using a Wilton Cake Marker tool.  I did this to make sure my line stayed straight and didn't meander up and down as I moved around the cake. 


Then I just started placing the leaves.  When all of the leaves were in position, I places a narrow length of fondant on top of the leaves to simulate the waist band of the hula skirt.


I worked from the base up.  The legs/feet first, hula skirt next, then the coconut bikini top.  On the back of the Minion I looped the fondant strings for the bikini top to make it look like the strings were tied together.


Next came the mouth.  Hummm.... I didn't like the first mouth I put on the Minion so I took it off and just left the space blank till I decided on a new style of mouth to use.  Eyes came next.  I actually placed the eye balls inside the goggles and then placed the goggles and eyes onto the cake.  Once the eyes were positioned I removed the goggles and put them in a safe place.  I was afraid the fragile goggles would fall off and break while I was working on the cake!  I am somewhat of a klutz.


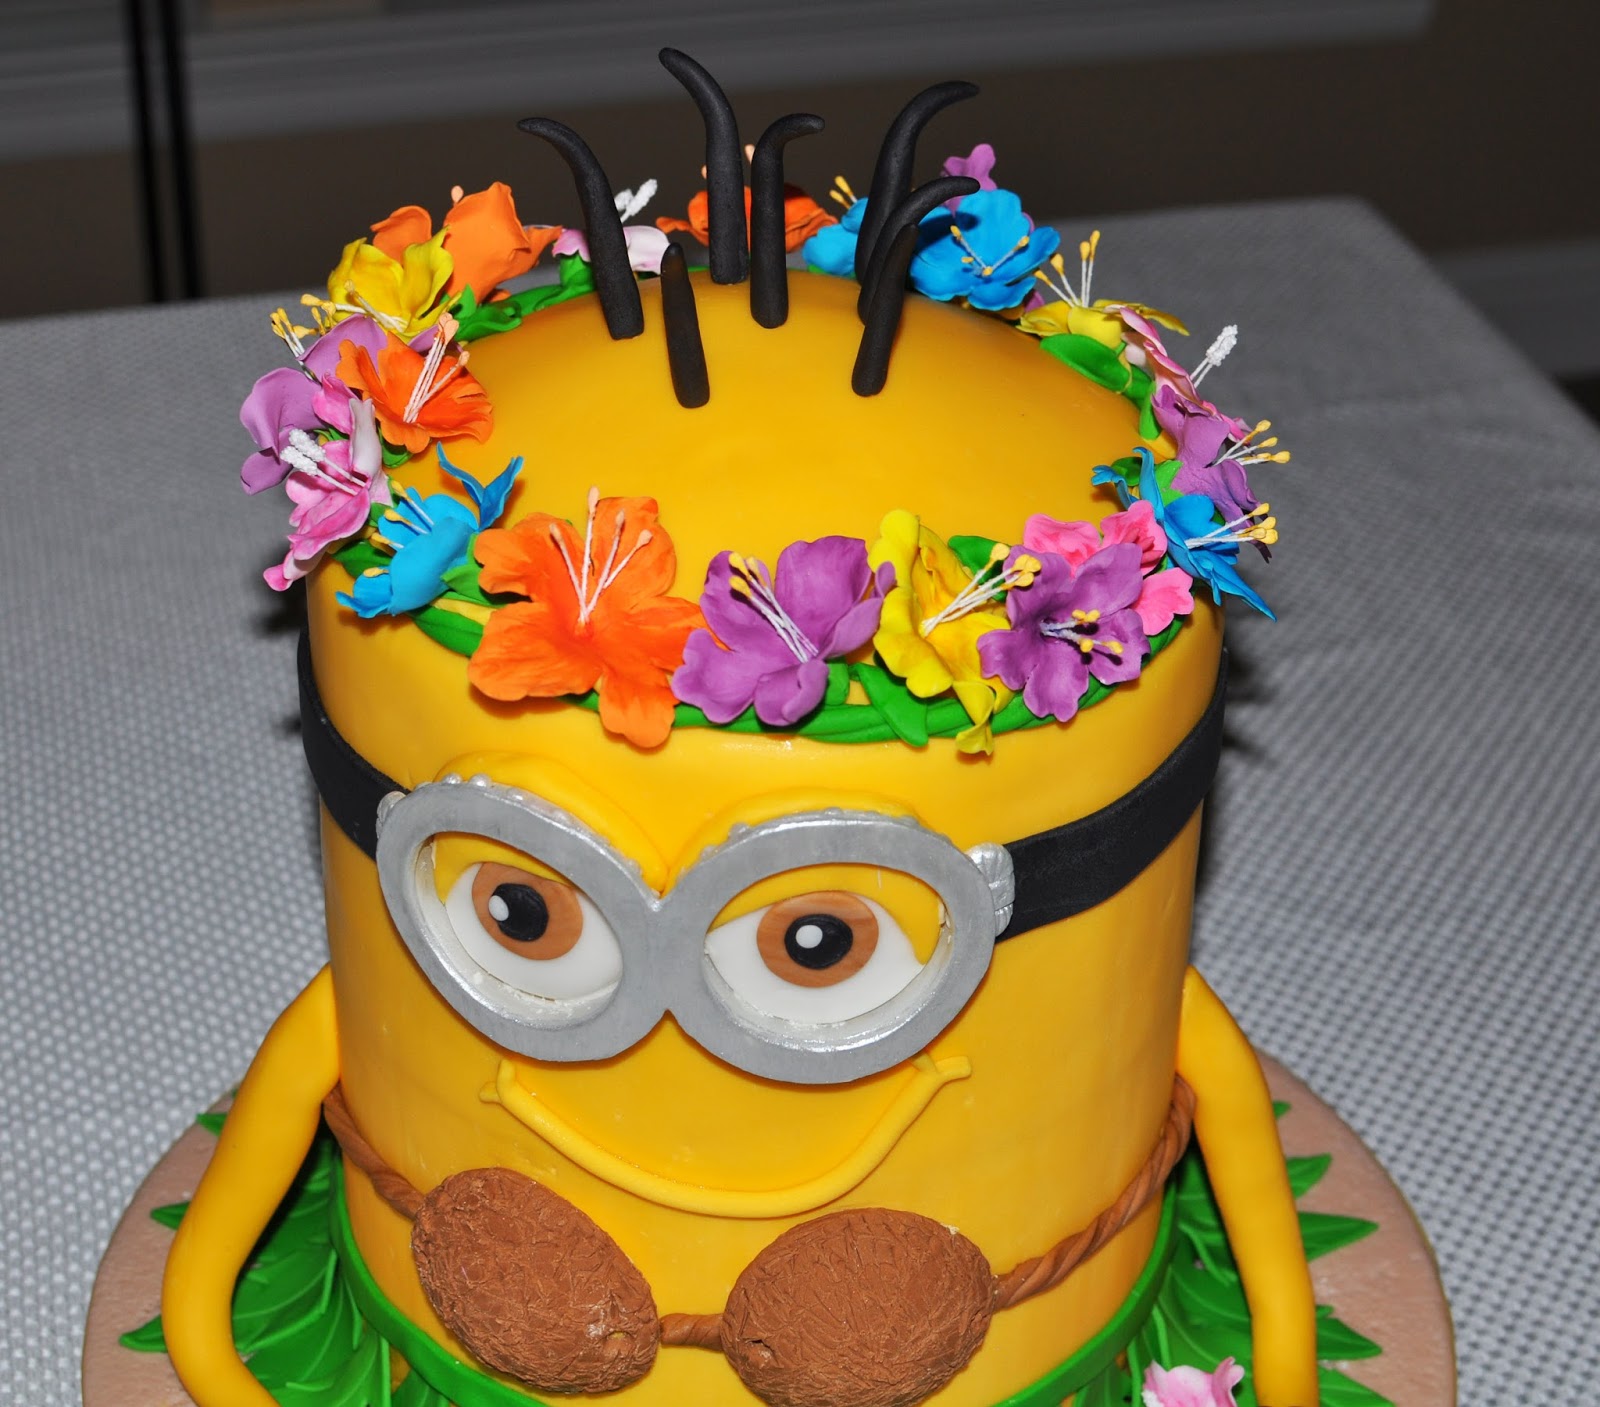
Next I put on an improvised mouth.  I really wanted an open mouth on my Minion.  Something with a cheeky grin and shining white teeth, but I settled on just a rope of fondant.  I also put a green head band on my Minion.  My gumpaste hibiscus wouldn't stay in place, so I needed something to hold the flowers up.  In hind-sight I should have put the flowers on a toothpick so I could stick them directly into the cake, but DUH, I forgot.


In the end the head band held the flowers in place, so no biggie.


The arms went on last.  I thought I would have a problem keeping them in place, but surprisingly the top of the floppy arms stuck to the main cake with just a touch of water.  I just used a little bit of plastic wrap to keep them away from the body as they dried,

So here is the finished cake.  I pulled another all-nighter with this cake, but the birthday girl seemed happy.  (Even though the goggles were positioned a little crooked and one eye lid was a bit droopy.  How come I never see these things till I look at the pictures!!!)


Happy Decorating,

Carol

Sunday, August 27, 2017

Gunging 2 - Sugar Spackle For Your Less Than Perfect Fondant Cakes

For her 17th birthday my niece requested a 2 tier cake with turquoise and white roses.  Sadly her cake just wasn't meant to be.  I didn't finish the gumpaste roses, one of the cakes collapsed in the oven, and the new fondant I was trying out had some serious issues.  Everything went wrong with this cake, so my frustration level was off the chart.  In the last 30 minutes I threw this together.  Nothing Pin-worthy, but good enough for family.


Beyond the collapsing cake, the biggest issue with this week's attempt was the fondant.  It was just released in the USA, and I had serious problems with it right from the start.  I finally contacted the company, and they agreed that there was a problem and offered to send me a new bucket.

But silly me I went ahead and used the "messed up" fondant.  Big mistake, cause this is what I got!!  


But actually I didn't worry too much about the TEN gaping holes in the fondant, because I had a secret weapon.  A secret weapon called Gunge.  Gunge is essentially sugar spackle for your cake.  With it you can cover up any imperfection with a quick dab of your finger and a swipe of your wrist.

The first step in this magical fondant cure is mixing up a batch of gunge ...
(Note: recipe is at the bottom of the post.)


Fill the holes in your fondant with a big dollop of the sticky paste...


And then scrape it off...


Easy Peasy.  You may have to do this a few times, but when you are finished, the hole is completely gone.   Can you even see where the original crater was??


What a difference a little gunge makes...


Disclosure:We are a participant in the Amazon Services LLC Associates Program, an affiliate advertising program designed to provide a means for us to earn fees by linking to Amazon.com and affiliated sites.


Gunge (recipe from  Kaysie Lackey at Innovative Sugar Works)

Ingredients:
 
200 grams  Fondant
15 grams  Whole Milk  (Soy Milk works too)
15 grams  Vodka

Directions:
  • Start out mixing 100 grams of the fondant will all of the liquid.  I use an electric hand mixer fitted with a whisk.  Be patient, this takes a while.
  • When the original 100 g of fondant gets incorporated into the liquid, slowing start adding pieces of the remaining 100 grams of fondant until the mixture starts to look like stiff peak royal icing.  You don't need to add all the remaining fondant; just add enough till the consistency look right. 

Tools Used:
  • Sugar Smoother/Scraper by  Innovative Sugar Works - This tool is great for scraping the gunge from the cake.  It is light and thin, but super strong.  The scrapper has other uses, but it is the go-to tool for gunge repairs.  You can get Smoothers with a ruler inked on the side or Ink Free.
  • Sugar Shapers are another great tool to use with gunging.  If you have a gap between your stacked tiers, you can pip the gunge in the gap and smooth it out using the Sugar Shapers.
  • An the best tool of all the the TurnTable Expander.  When draping the fondant over the cake, my regular turntable is not large enough to hold all the extra fondant that pools at the base.   The TurnTable Expander gives you an extra 8 inches of working space. The Expander fits my Cake Boss Turntable perfectly, but Innovative Sugar Works now sells their own turntable.
  • And, No, I don't work-for or have any relationship with Innovative Sugar Works.  As a hobby baker I just love their products.

Note 1: You can also half or quarter this recipe.

Note 2: If you use just water or just vodka as the liquid, the gunge patch will have a shiny appearance and stand out from the fondant around it.  The milk is used because the fat in the milk gives the gunge patch a matte finish that will make the repaired area blend seamlessly into the surrounding fondant. I have also used Soy Milk and it works just as well as the whole milk.

Note 3: The vodka is used because it quickly evaporates when exposed to air so it helps the repaired area dry quickly and lose its stickiness.  If you use water, the gunge will stay sticky for a much longer period.

So when your fondant is less than perfect - just  GUNGE  IT and forget it!!


Happy Decorating,

Carol


Sunday, August 20, 2017

Wizard of Oz Themed Birthday Cake


Man-oh-Man this was a tough one.  
So many little pieces-parts.  
So many things that could and did go wrong.


This cake was for my first cousin's grand daughter.  (What does that make the birthday girl?  My first cousin twice removed????)  Anyway, this cake was a doozie.  I spent weeks  making all the little objects out of gumpaste.

Out of all the little pieces-parts, I think the house is my favorite.  The porch, door and window are "broken" looking because hey -- the house fell from the sky.  I like the witch's legs poking out from underneath too.  You can't really see it, but I have some broken siding at the bottom where the witch's body cracked the wooden boards in half.  I was going to put a flower box under the window, but I thought it might be a little over kill.


Toto, Dorthy's basket, and the ruby slippers are there too...


Glinda's crown and wand...


The doodads for the Tin Man (ax, heart, and funnel hat), the Scarecrow (diploma), and the Cowardly Lion (medal of courage) are on the other side.  And poppies too, don't forget about the poppies.


I didn't like the "witch's" section as much.  The broom and hat came out okay, but there was just something missing from the final arrangement.  There was a void between the flying monkey and the sign that I couldn't fill.  (FYI:  The sign says "Follow the yellow brick road".)  Nothing seemed to work, so I just left it alone.  I think if I had put the monkey a little closer to the sign it could have been okay, but once I stuck him on the cake, there was no moving him.


The rainbow had some issue too.  I wanted it to be sparkly, but nothing I tried seemed to work.  The sanding sugar wouldn't stick, and the luster dust wasn't visible at all.  Oh well, no sparkly rainbow for the birthday girl.


This cake was a huge learning experience in my cake decorating adventures.  I just hope the cake makes it to the party okay (I'm not going to the party so I couldn't deliver it.)  My cousin picked it up on Saturday and drove it 50 miles to her home (actually I met her half way).  That drive didn't worry me because the cake was ice cold and rock hard.  But on Sunday the cake has to be driven another 100 miles to the party location.  The cake wouldn't fit into my cousin's refrigerator so I made her this nifty insulated cake box to help the thing stay cool.  The box even has a pouch that I loaded with dry ice!!!

So fingers crossed that the cake makes it to the party in good shape.


<< Disclosure: We are a participant in the Amazon Services LLC Associates Program, an affiliate advertising program designed to provide a means for us to earn fees by linking to Amazon.com and affiliated sites.>>
 
The supply list for this cake were pretty normal.  Gumpaste to make all the doodads.  14" Wilton cake drum for the base.  On this cake I used round Foam Core Boards under the cakes instead of the regular cardboard dividers.  I have been having problems with the cardboard dividers soaking up moisture and going limp (which in turn caused the cake to sag), so I decided to give the foam core boards a try.  And they worked great.  The form core is much stronger and more rigid than cardboard, but still soft enough to get a center dowels to pass through without pre-drilling.  You can also get the foam core in a 1/2 inch thickness so if your cake isn't quite tall enough you can boost it up with the form core.  But sadly the form core is also much more expensive, so I'll only use them when I know the cake is going to travel long distances, or the cake is taller than 2 tiers.

For the brick road I used a PME Brick Design Impression Mat, and I used Wilton's Color Mist to paint some of the objects: Silver for Glinda's hat and wand and the Tin Man's ax and hat, Black for the witch's hat, and Green for the Emerald City.   I used Color Pops powder food color on the house, Toto, the basket, some shadowing on the Emerald City, and the witch's broom.  I love using the powder color; it gives everything a more life-like look than just tinting the gumpaste with a single color.


For the sparkling gold color of the Lion's medal of courage I used  Alan Tetreault's edible luster dust.  I mixed the dust with a little vodka and just painted it on. Shiny...


Making the straw bristles of the broom gave me a frustrating 20 minutes till I had an Ah-Ha moment that totally changed the way I cut out gumpaste.  I was having trouble cutting the soft, sticky gumpaste into individual straw-like strands, so I sandwiched the gumpaste between inside a Reynolds Wax Paper Sandwich Bag and cut through all three layers at once.  The wax paper of the baggie is very, very thin (much thinner than regular wax paper) so the x-acto knife cut though the wax paper and gumpaste like a hot knife through butter.  Once cut, I just pealed the wax paper away and I had ultra thin bristles for my broom.  After this breakthrough I started cutting all my gumpaste between the wax paper baggies.


After I finished all my doodads, I arranged ever thing on Styrofoam cake dummies to see how they all looked together.  In all honesty I had to remake a few things because the proportions weren't right.  In fact I made the witch's hat three times before it looked good next to the broom.


The fondant I used on this cake is a new brand called Mona Lisa.  The fondant works great in high humidity, but I had other issues with the fondant that almost had me tossing it out the back door.  Look for the review of Mona Lisa fondant in the next few weeks.

So this ends my Wizard of Oz cake making adventure.  Now I just have to wait to see the Dorthy (oops, I mean the cake) makes it safely home.  But if the cake collapes along the way, at least I have a "Before" picture.


Happy Decorating,

Carol

Update:  My cousin just let me know that the cake made it to the party without a single problem.  The birthday girl loved it, so I'm a happy baker.


Sunday, August 6, 2017

Oreo Quadruple Stuf Cookie Cake

The Oreogasm Cake made famous by Delish has become a family favorite (they keep asking for it again and again).  But the standard Oreogasm Cake doesn't give me much opportunity to practice my decorating skills, so this time I decided to make the Oreogasm Cake into a (drum roll please) ...

Oreo Quadruple Stuf Cookie Cake!!!


It is like the Oreo Double Stuf Cookie, only with more "Stuf".  Get it... double the double Stuf is quadruple Stuf.  That's a lot of Stuf.

For the cookie top and base I baked two 9" round shortbread cookies.  I guess I should have made them chocolate shortbread, but hey, maybe next time.


To make the cookies black, I just brushed them with dark cocoa powder.  Here is the cookie that will form the bottom of the cake getting a dusting of cocoa powder.


Next I started making the iconic "Oreo" design out of fondant and arranging it atop the second cookie.


Here is the finished cookie top with all its do-dads.  Yes, I should have tinted the fondant black, but in the beginning I planned on just dusting it with cocoa powder.  That didn't work (the cocoa powder didn't completely obscure the white color) so in the end I had to paint each piece of white fondant with black food color.  What a time consuming PITA.


Last touch for the cookie top was a dusting of cocoa powder.


Ta Da,  The finished cookie top...


Next the stacking of the cake...
The finished cake.  How cool is that!!


And the inside was just Oreogasmic.  The shortbread cookie was pretty good too.


Happy Decorating,

Carol